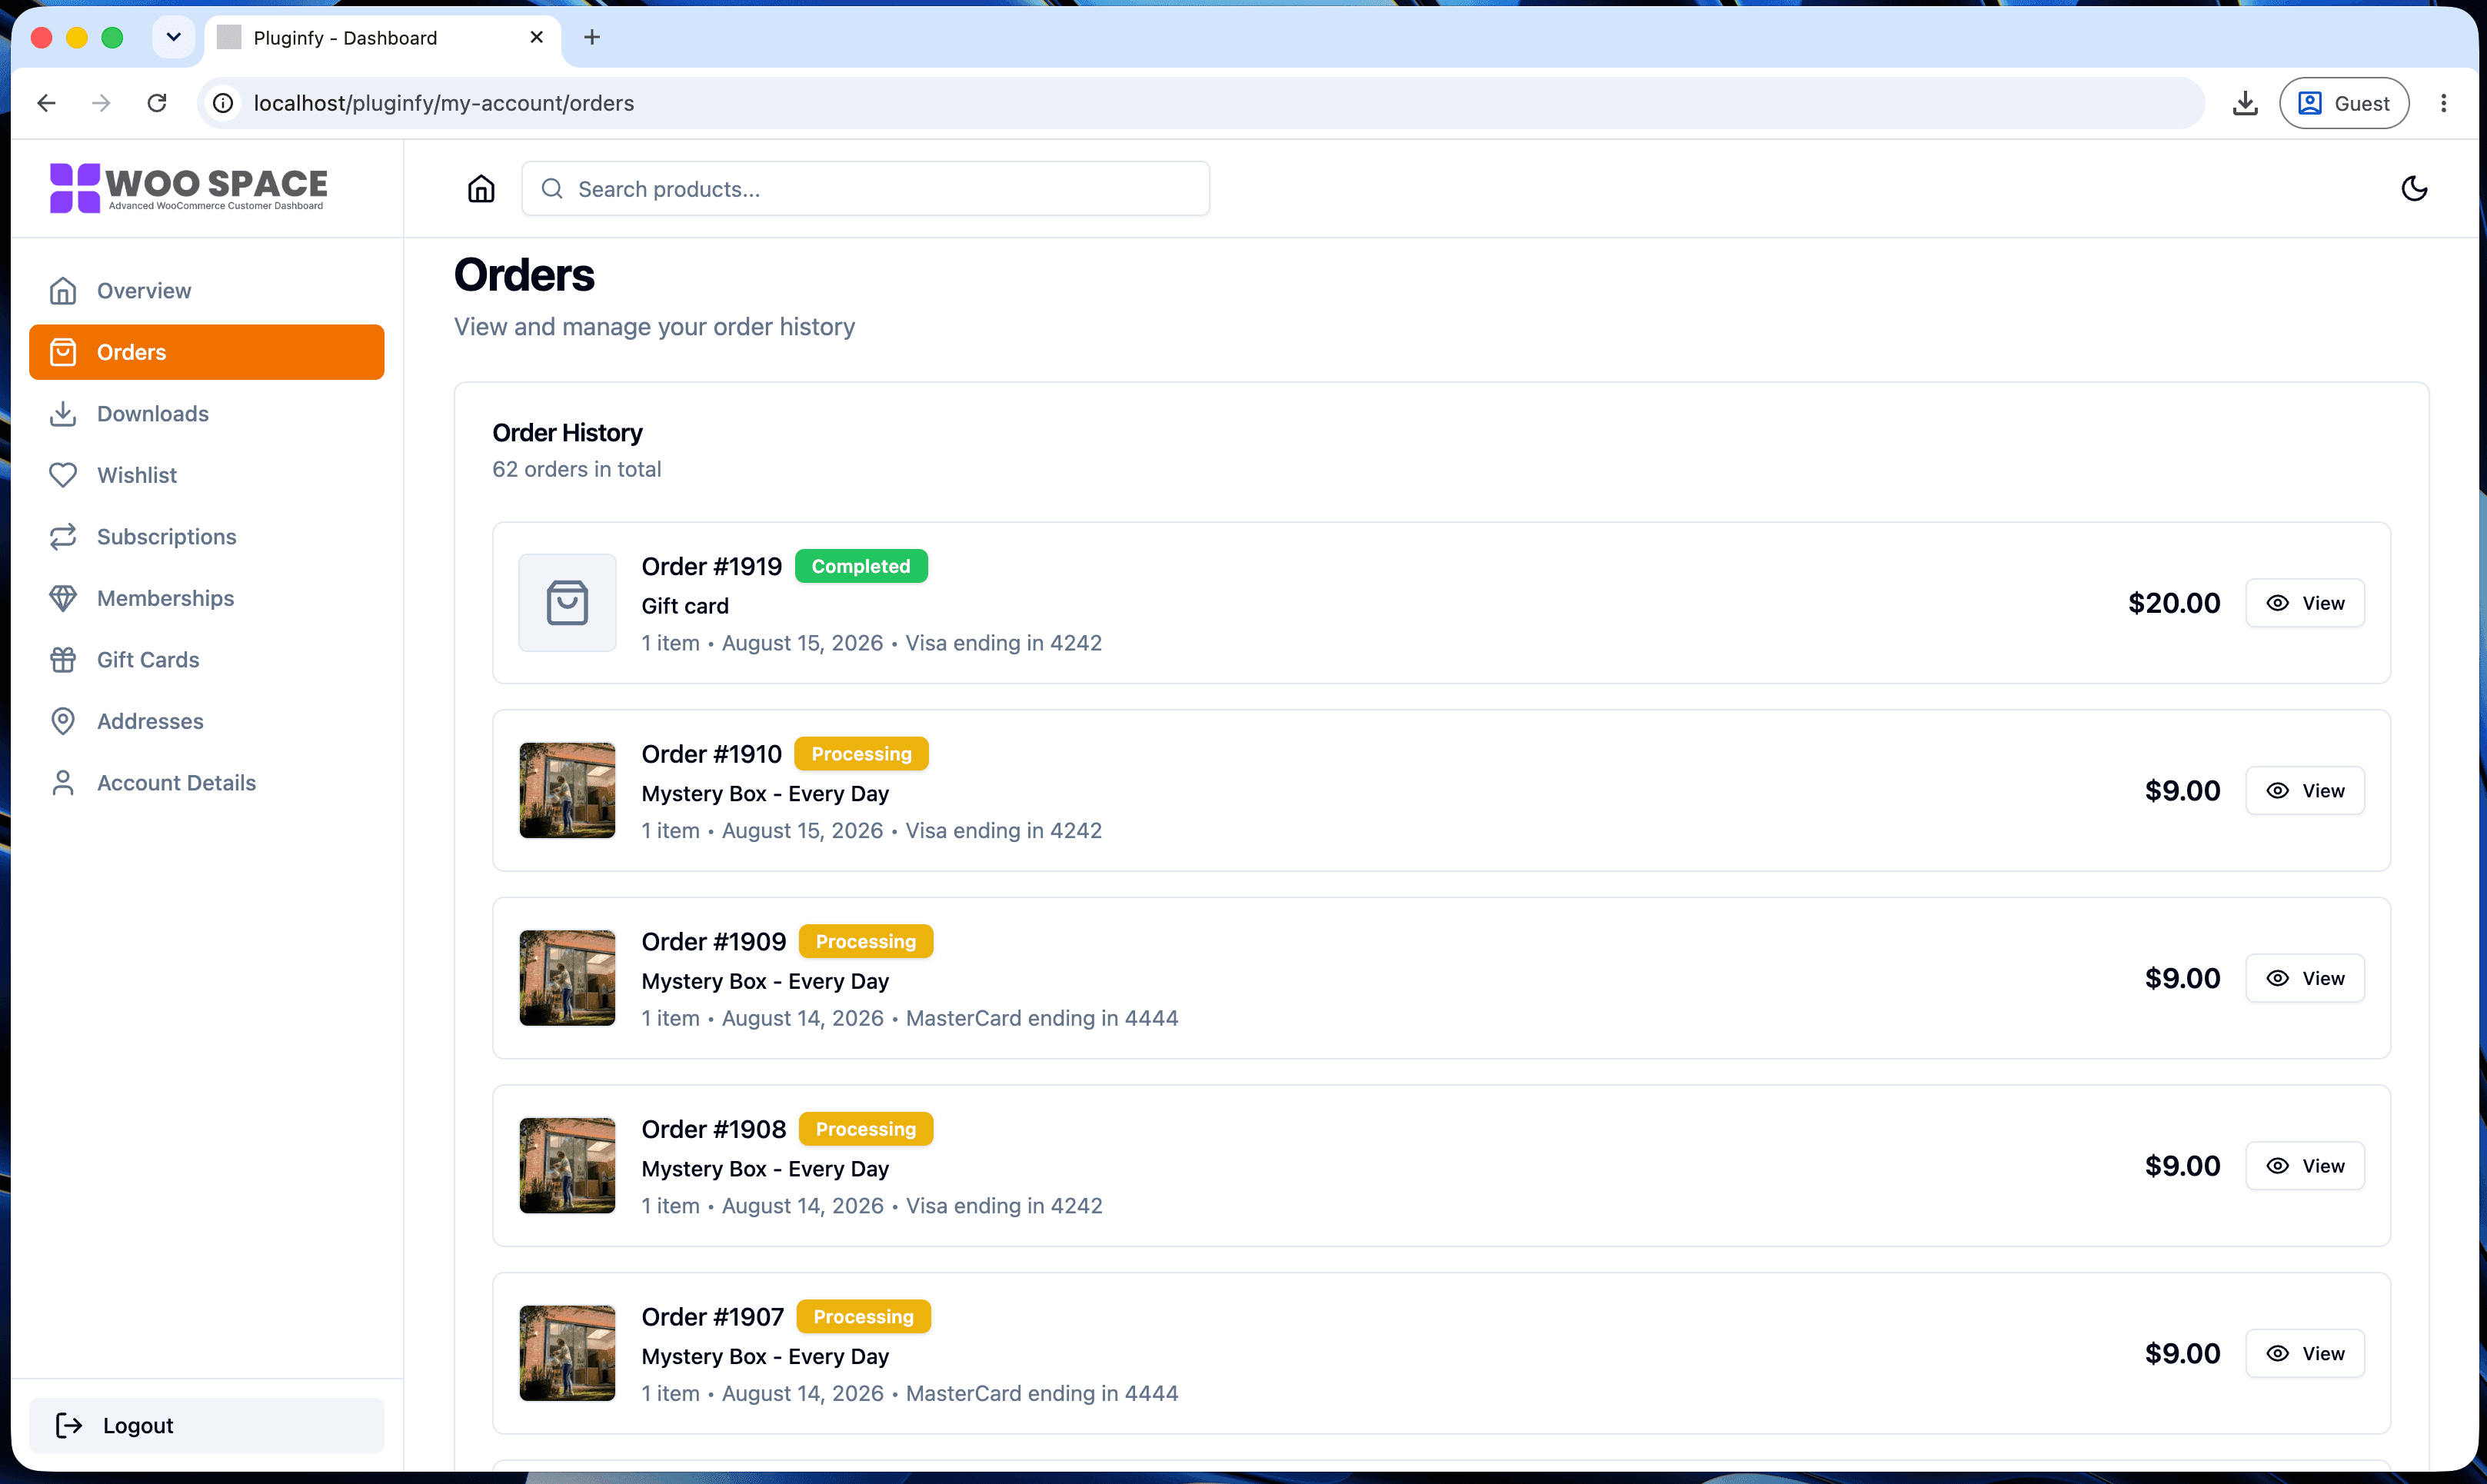
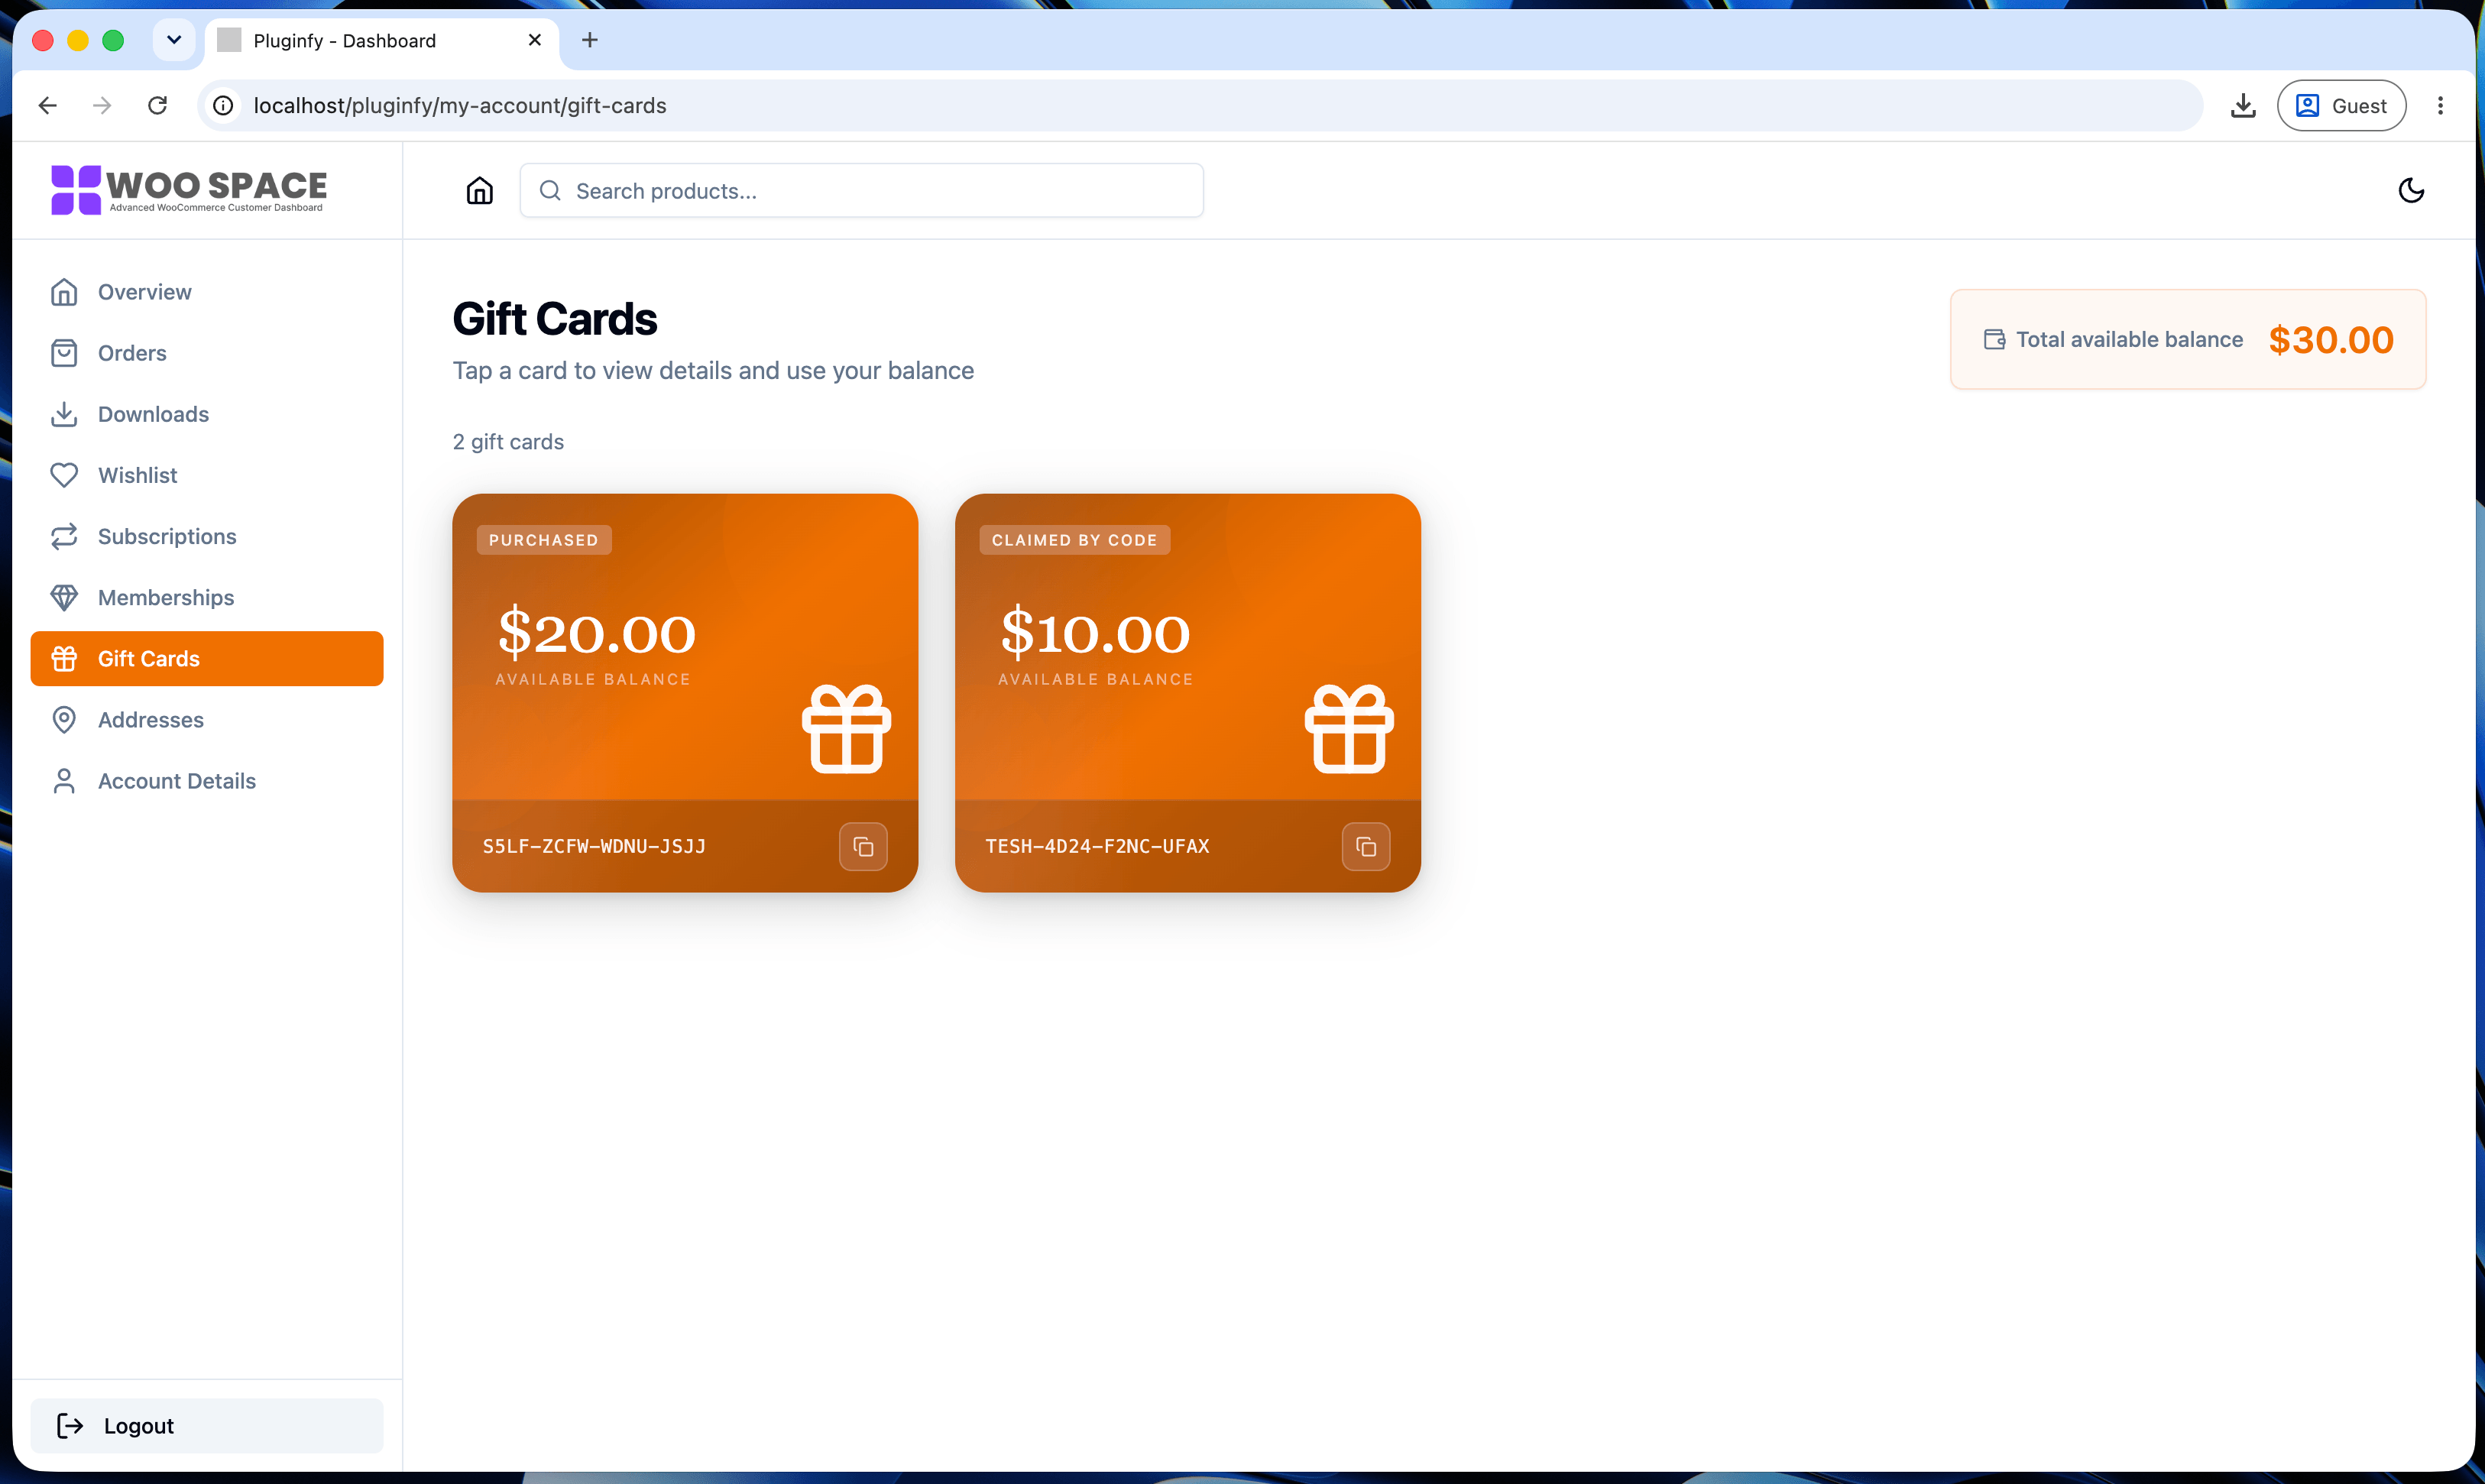
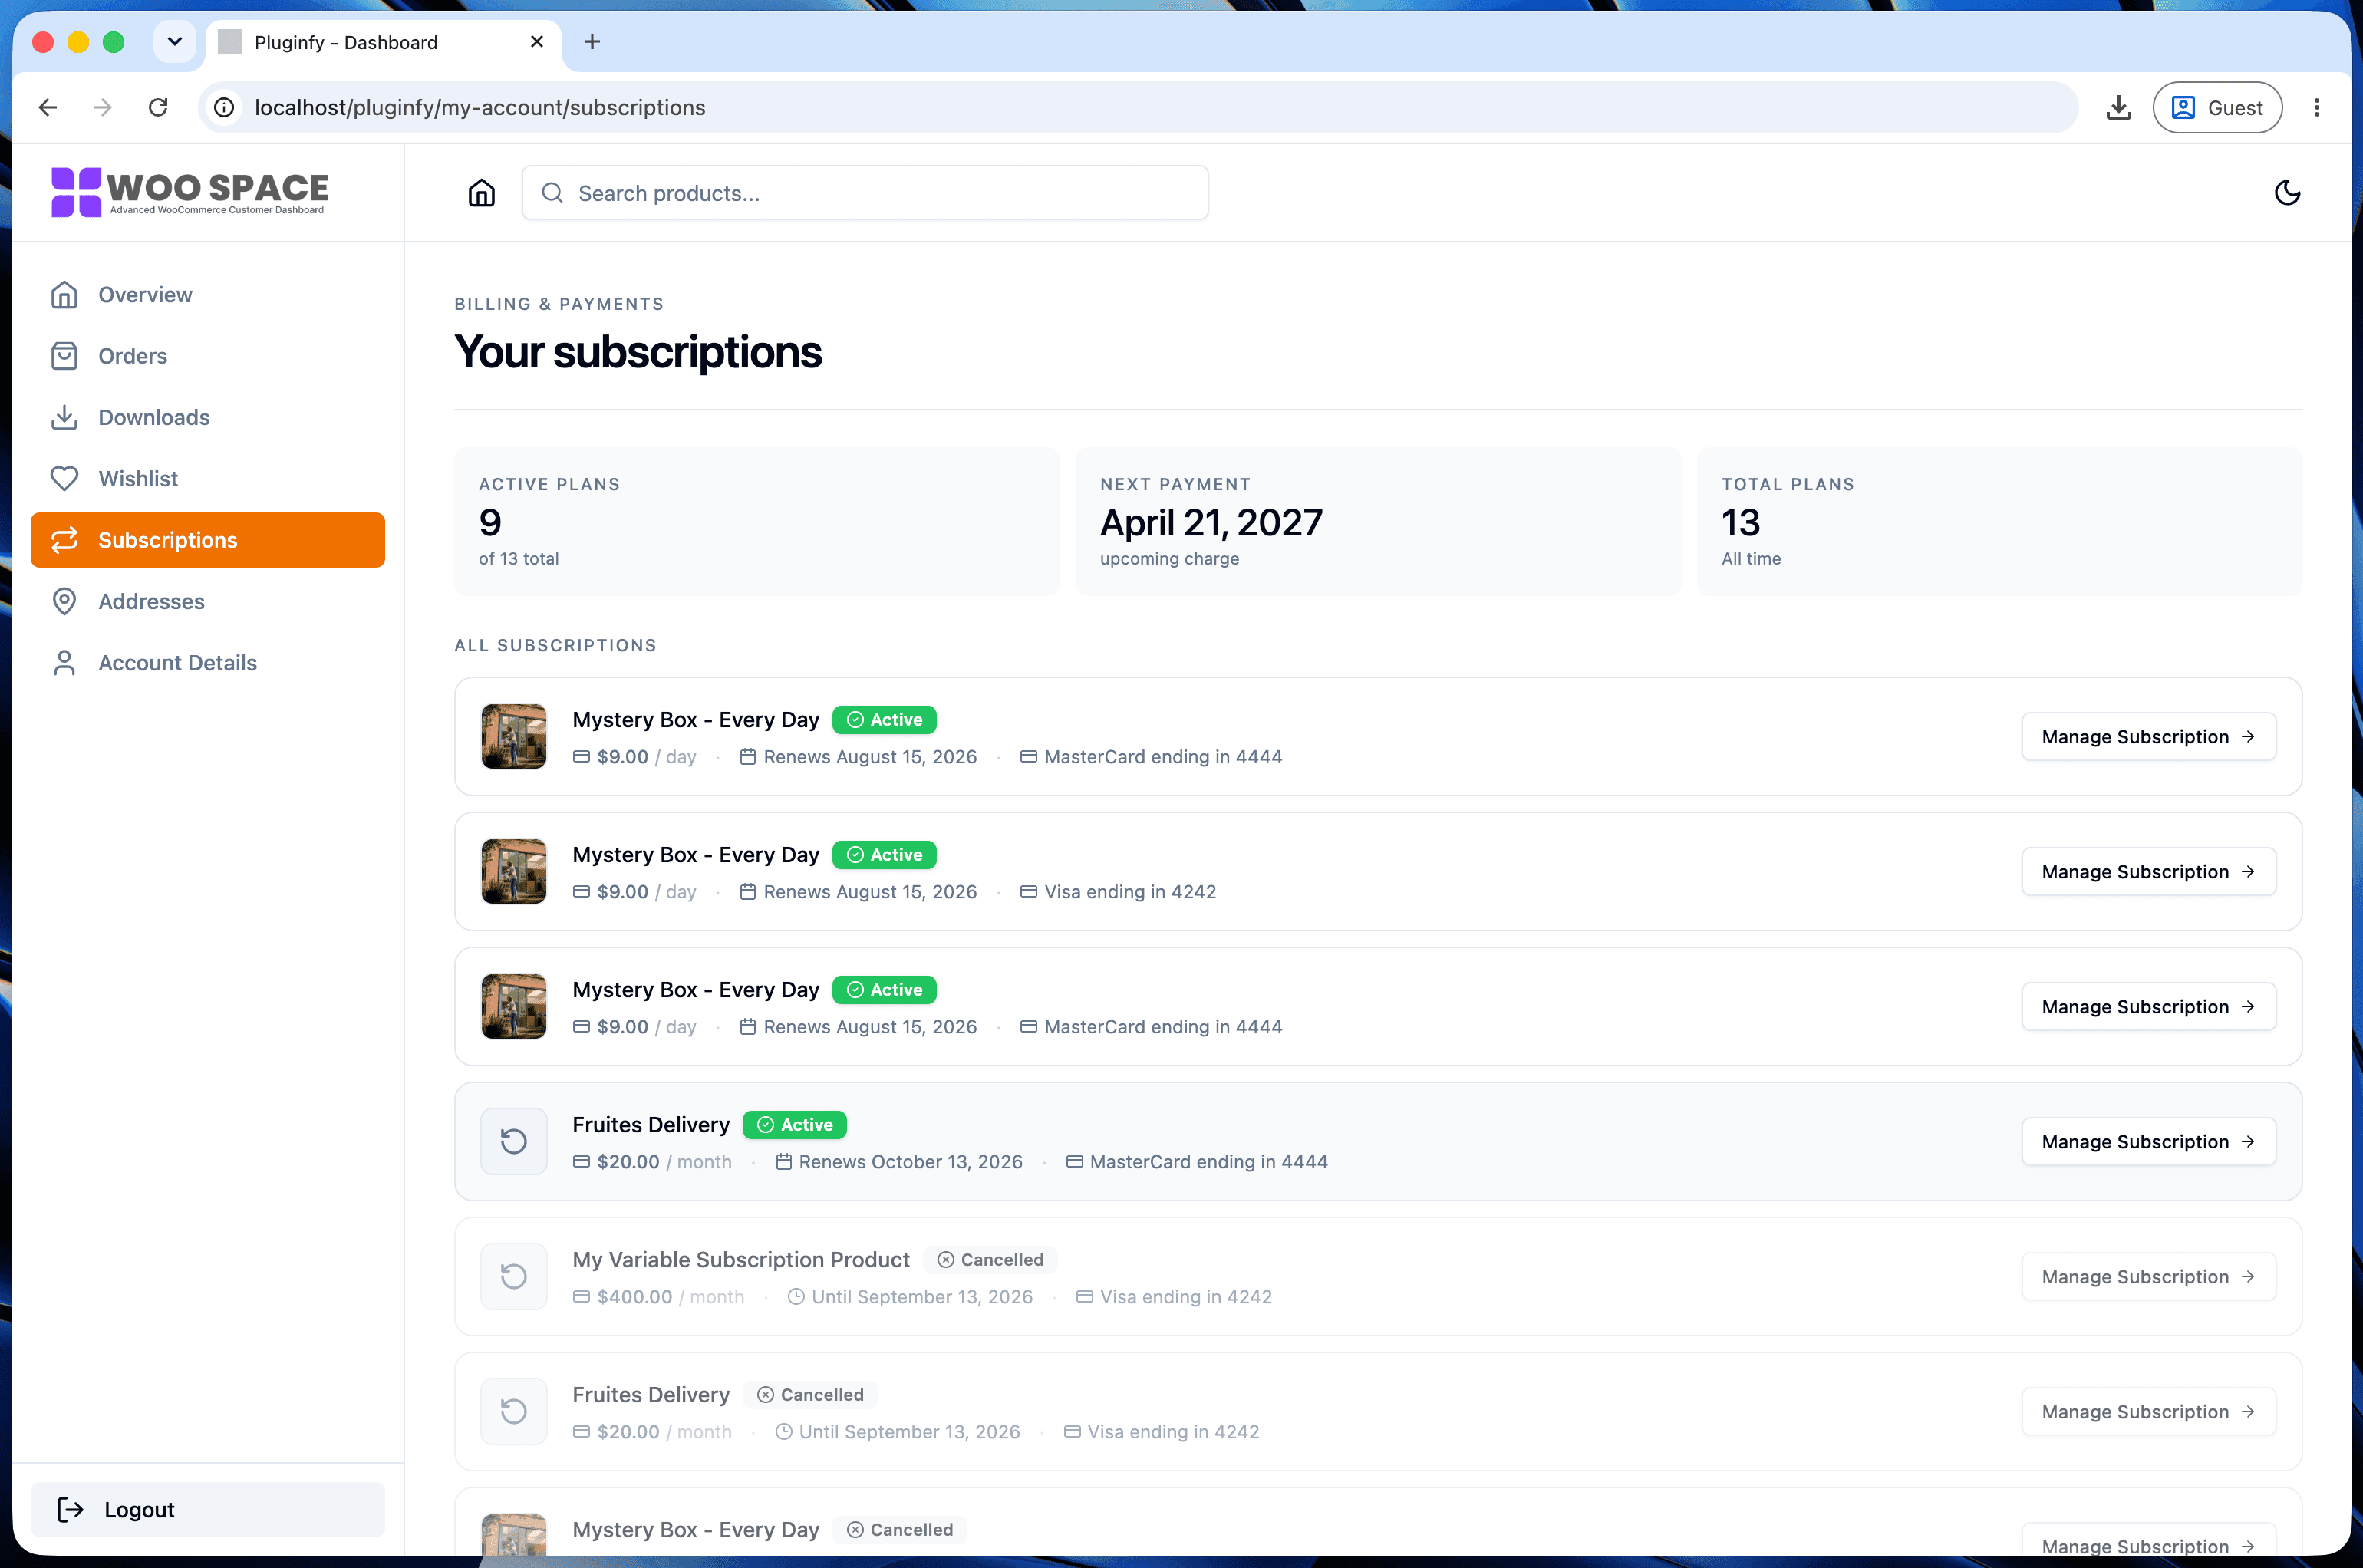
How to Customize the WooCommerce My Account Page (Complete Guide)
Step-by-step guide to customizing the WooCommerce My Account page with hooks, endpoints, and template overrides - plus when a React dashboard is the faster path.
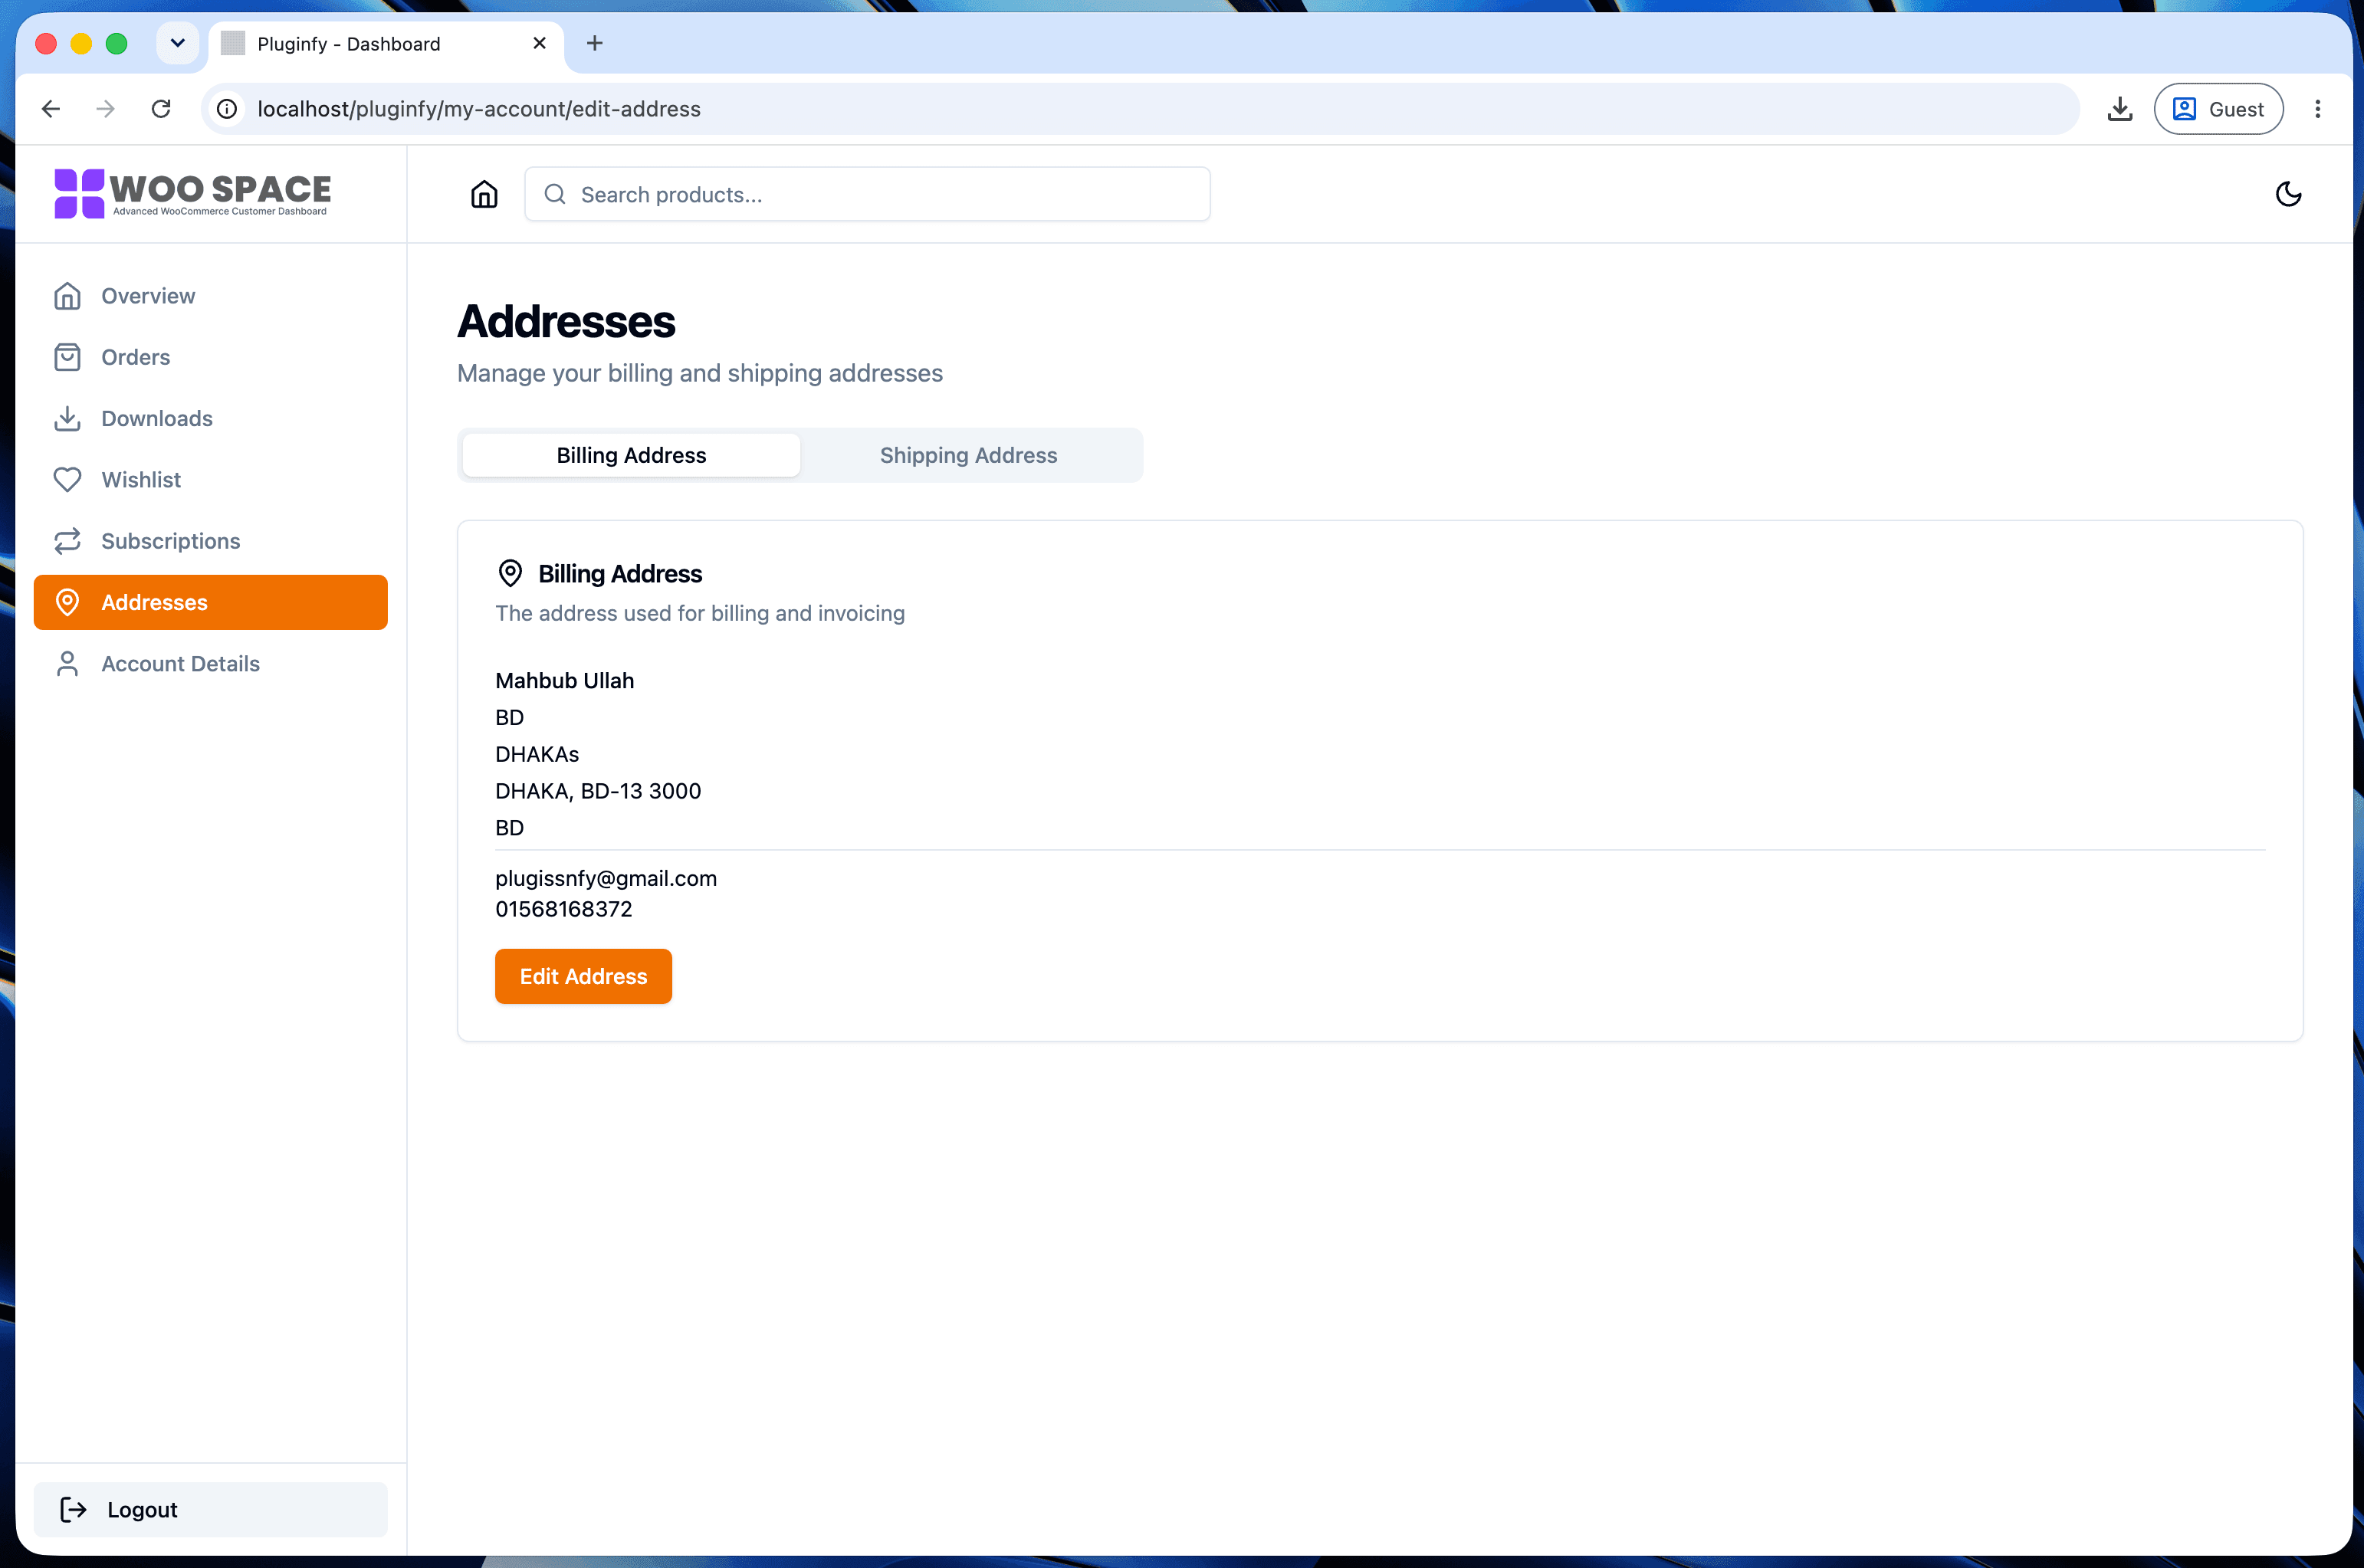
The default WooCommerce My Account page works, but it looks like it was designed in 2012 - because most of its markup was. If you've ever tried to make it match your store's branding, you've probably run into WooCommerce's template and hook system, which is powerful but not exactly beginner-friendly.
This guide covers every legitimate way to customize the WooCommerce My Account page: reordering menu items, adding custom endpoints, overriding templates, and styling it with CSS. At the end, we'll look at why a growing number of stores skip all of this and replace the page outright.
How the My Account page is built
WooCommerce renders /my-account/ from the woocommerce/myaccount/my-account.php
template. It's a shell that outputs a navigation menu (woocommerce_account_menu_items)
and then loads a sub-template for whichever tab is active - dashboard.php,
orders.php, downloads.php, edit-address.php, and so on.
Every customization technique below hooks into this structure rather than replacing it, which is why WooCommerce updates rarely break them.
1. Reorder or rename menu items
The account menu is filterable with woocommerce_account_menu_items. This is
the safest, most common customization:
add_filter( 'woocommerce_account_menu_items', function ( $items ) {
    // Rename "Downloads" to "My Files"
    if ( isset( $items['downloads'] ) ) {
        $items['downloads'] = __( 'My Files', 'your-textdomain' );
    }

    // Move "Orders" to the top
    $orders = $items['orders'];
    unset( $items['orders'] );
    $items = [ 'orders' => $orders ] + $items;

    return $items;
} );
2. Add a custom tab (endpoint)
Custom tabs need three pieces: a rewrite endpoint, a menu item, and content
for that endpoint - see our dedicated custom tab
tutorial for the full
walkthrough, including WordPress's add_rewrite_endpoint()
reference
for the endpoint mask options.
// 1. Register the endpoint
add_action( 'init', function () {
    add_rewrite_endpoint( 'loyalty-points', EP_ROOT | EP_PAGES );
} );

// 2. Add it to the menu
add_filter( 'woocommerce_account_menu_items', function ( $items ) {
    $items['loyalty-points'] = __( 'Loyalty Points', 'your-textdomain' );
    return $items;
} );

// 3. Render the content
add_action( 'woocommerce_account_loyalty-points_endpoint', function () {
    echo '<p>You have 240 points.</p>';
} );
Flush permalinks (Settings → Permalinks → Save) after adding a new endpoint, or it'll 404.
3. Override a template
Copy the file you want to change from
wp-content/plugins/woocommerce/templates/myaccount/ into
wp-content/themes/your-theme/woocommerce/myaccount/, keeping the same path.
WooCommerce will use your copy instead of its own.
This is the right tool for structural changes (a different dashboard layout, a redesigned order table) but it's also the riskiest: your copy stops receiving WooCommerce core updates, so a future WooCommerce release can drift out of sync with your override.
4. Style it with CSS
For visual changes only - spacing, colors, typography - CSS is safer than a template override because it survives every WooCommerce update:
.woocommerce-MyAccount-navigation ul {
  border-radius: 0.75rem;
  overflow: hidden;
}

.woocommerce-MyAccount-navigation-link.is-active a {
  background: var(--wp--preset--color--primary, #7c3aed);
  color: #fff;
}
5. Add a custom dashboard widget
The dashboard tab fires woocommerce_before_account_navigation and
woocommerce_account_dashboard, both good places to inject summary cards
(recent orders, loyalty status, subscription renewal date) without touching
templates:
add_action( 'woocommerce_account_dashboard', function () {
    $order_count = wc_get_customer_order_count( get_current_user_id() );
    printf(
        '<div class="account-stat-card"><strong>%d</strong> orders placed</div>',
        esc_html( $order_count )
    );
}, 5 );
Where hooks and templates stop being enough
All five techniques above are additive - they layer small changes onto WooCommerce's existing PHP-rendered page. That's fine for a menu rename or a color tweak. It gets harder once you want:
- A dashboard that feels instant (no full page reload per tab)
- A consistent design system across every account screen
- Dark mode
- A mobile layout that isn't just the desktop template squeezed narrower
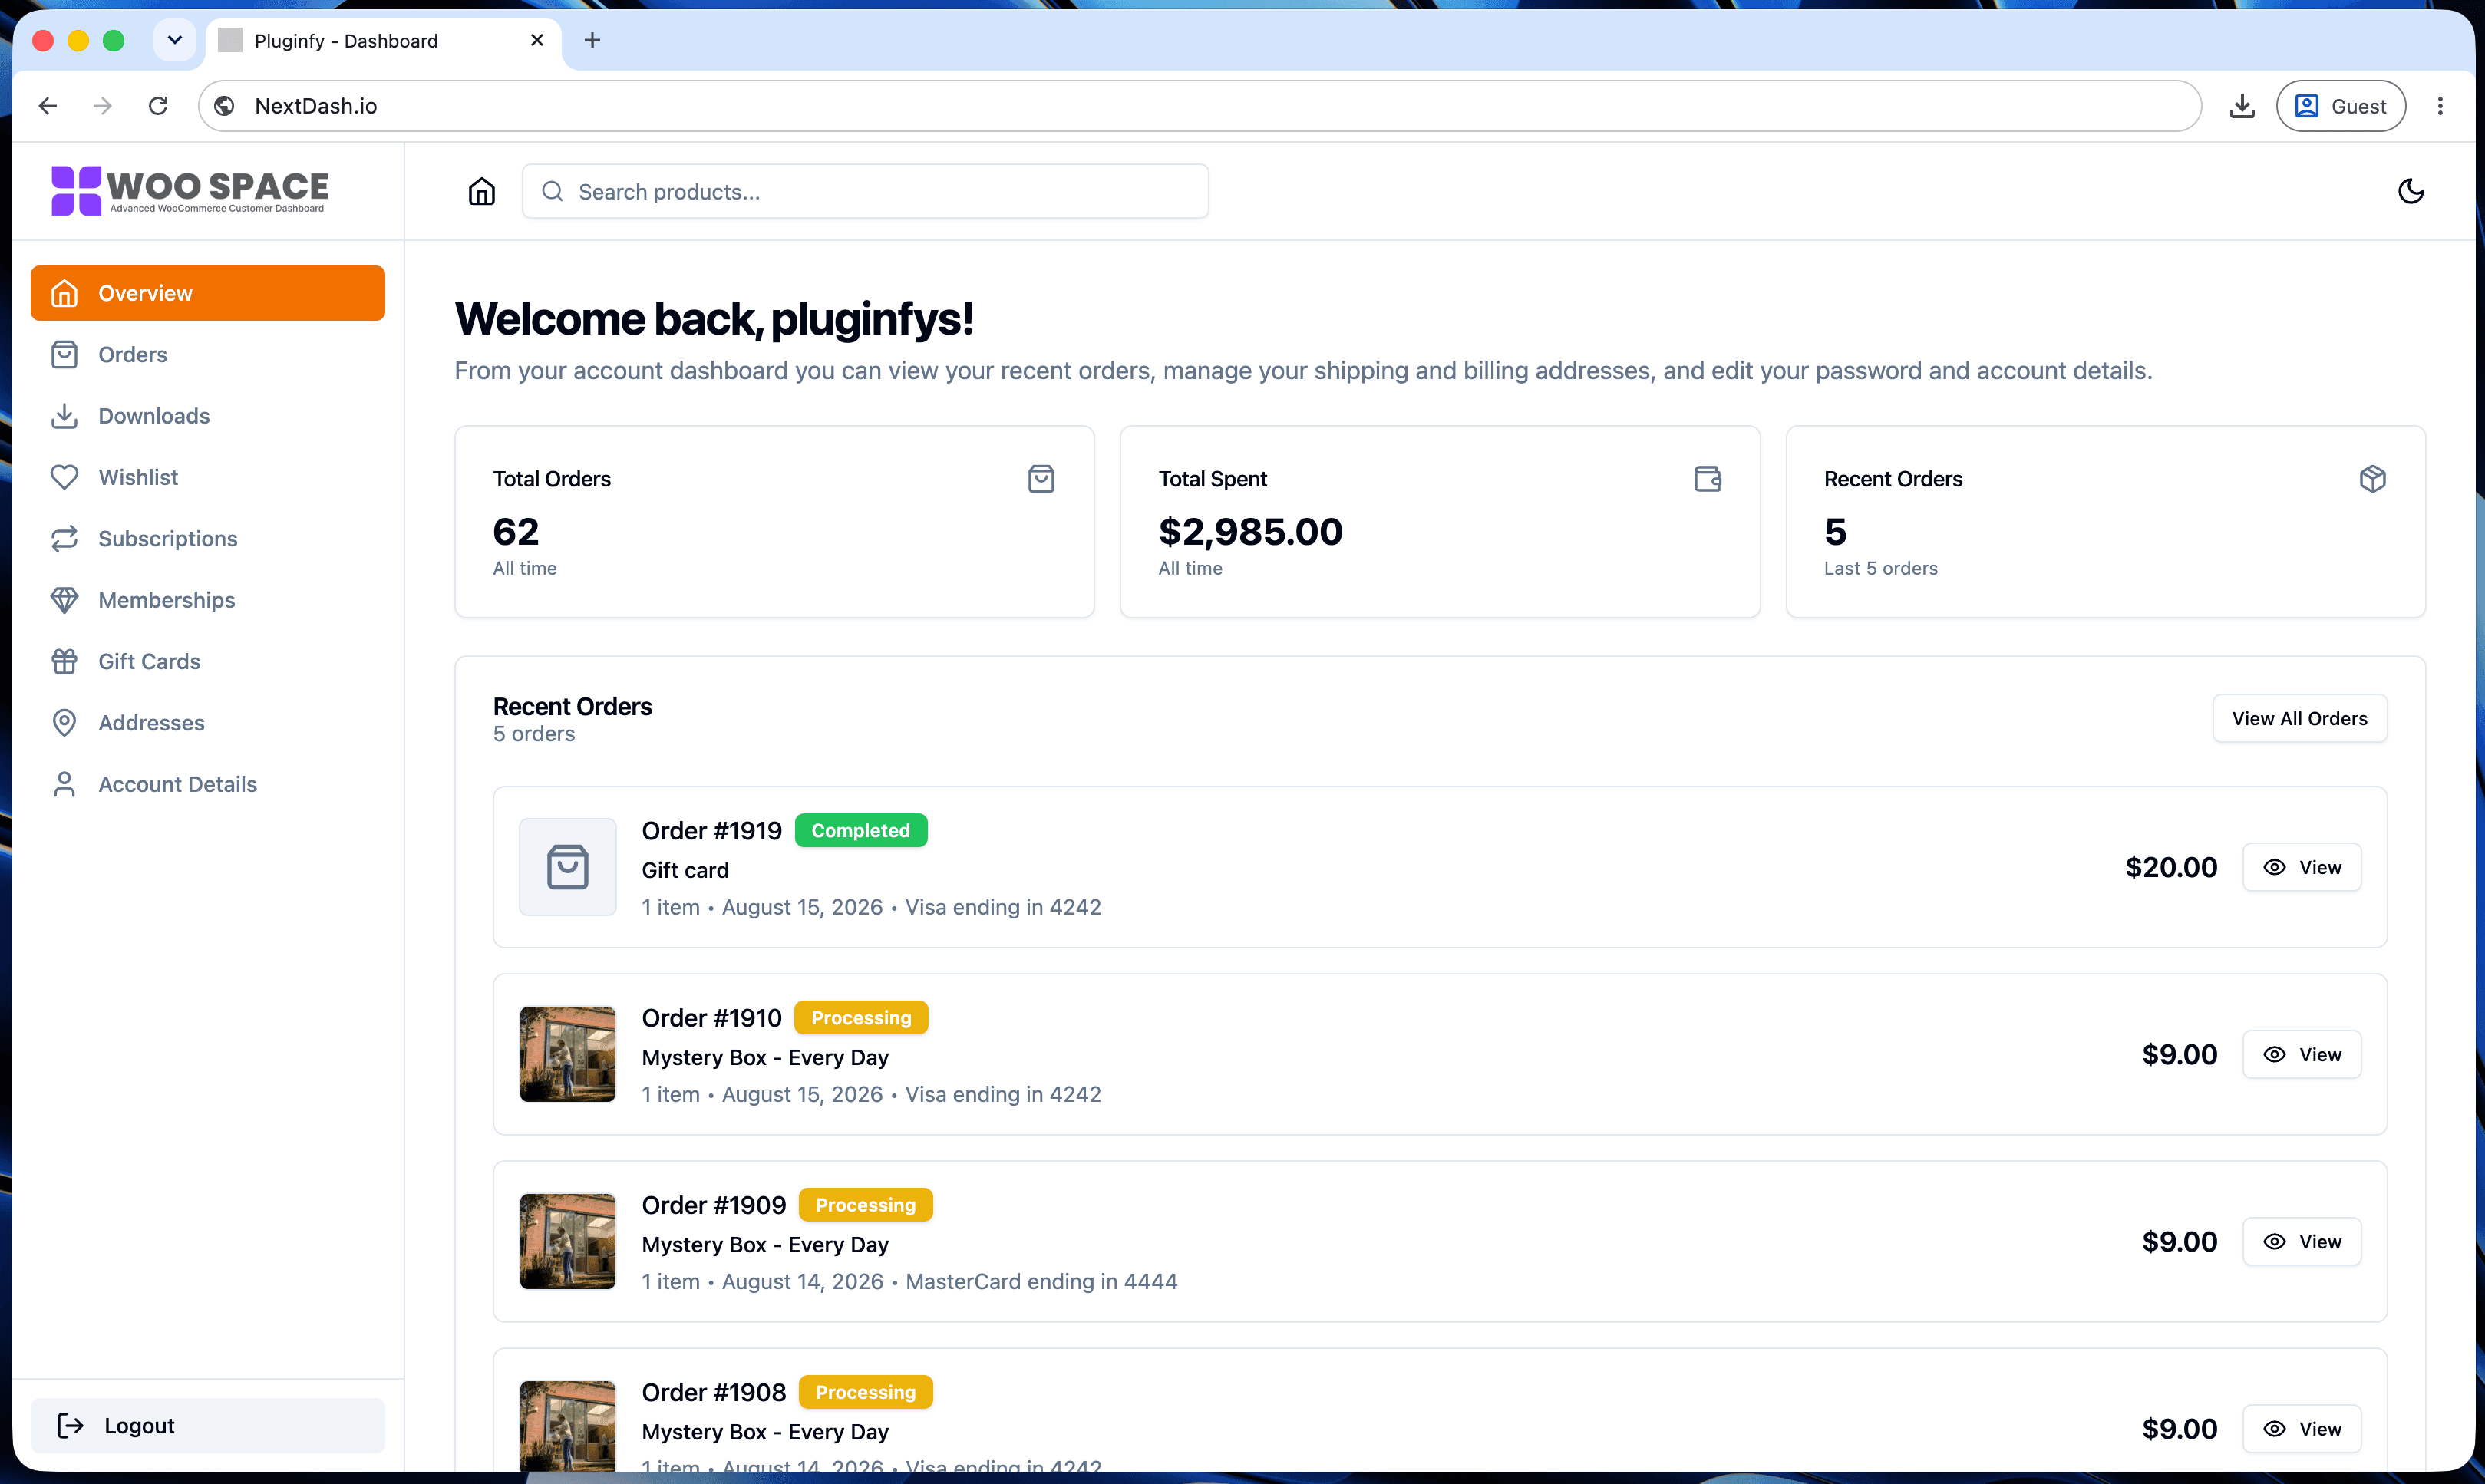
At that point you're not customizing the My Account page anymore, you're rebuilding it - tab by tab, template by template, and re-testing each one after every WooCommerce update. NextDash ships that rebuild already done: an order management dashboard, a downloads center, address book, and dark mode as built-in features rather than five separate custom projects.
FAQ
Does customizing the My Account page break WooCommerce updates? Menu filters and action hooks don't. Template overrides can, if WooCommerce changes the structure of the file you copied - check the WooCommerce changelog before updating if you have overrides in place.
Can I use a page builder instead of code? Some page builders can style the account page's outer wrapper, but none of them can rebuild the tab content (orders, downloads, addresses) since that's rendered by WooCommerce, not by page-builder blocks.
Is there a plugin that replaces the whole page? Yes - see our comparison of the default My Account page vs a React dashboard for what changes when you replace it outright instead of patching it.
Skip the custom code — install NextDash
NextDash replaces the default WooCommerce My Account page with a modern React dashboard out of the box: order management, downloads, addresses, dark mode, and fast client-side navigation, no template overrides required.