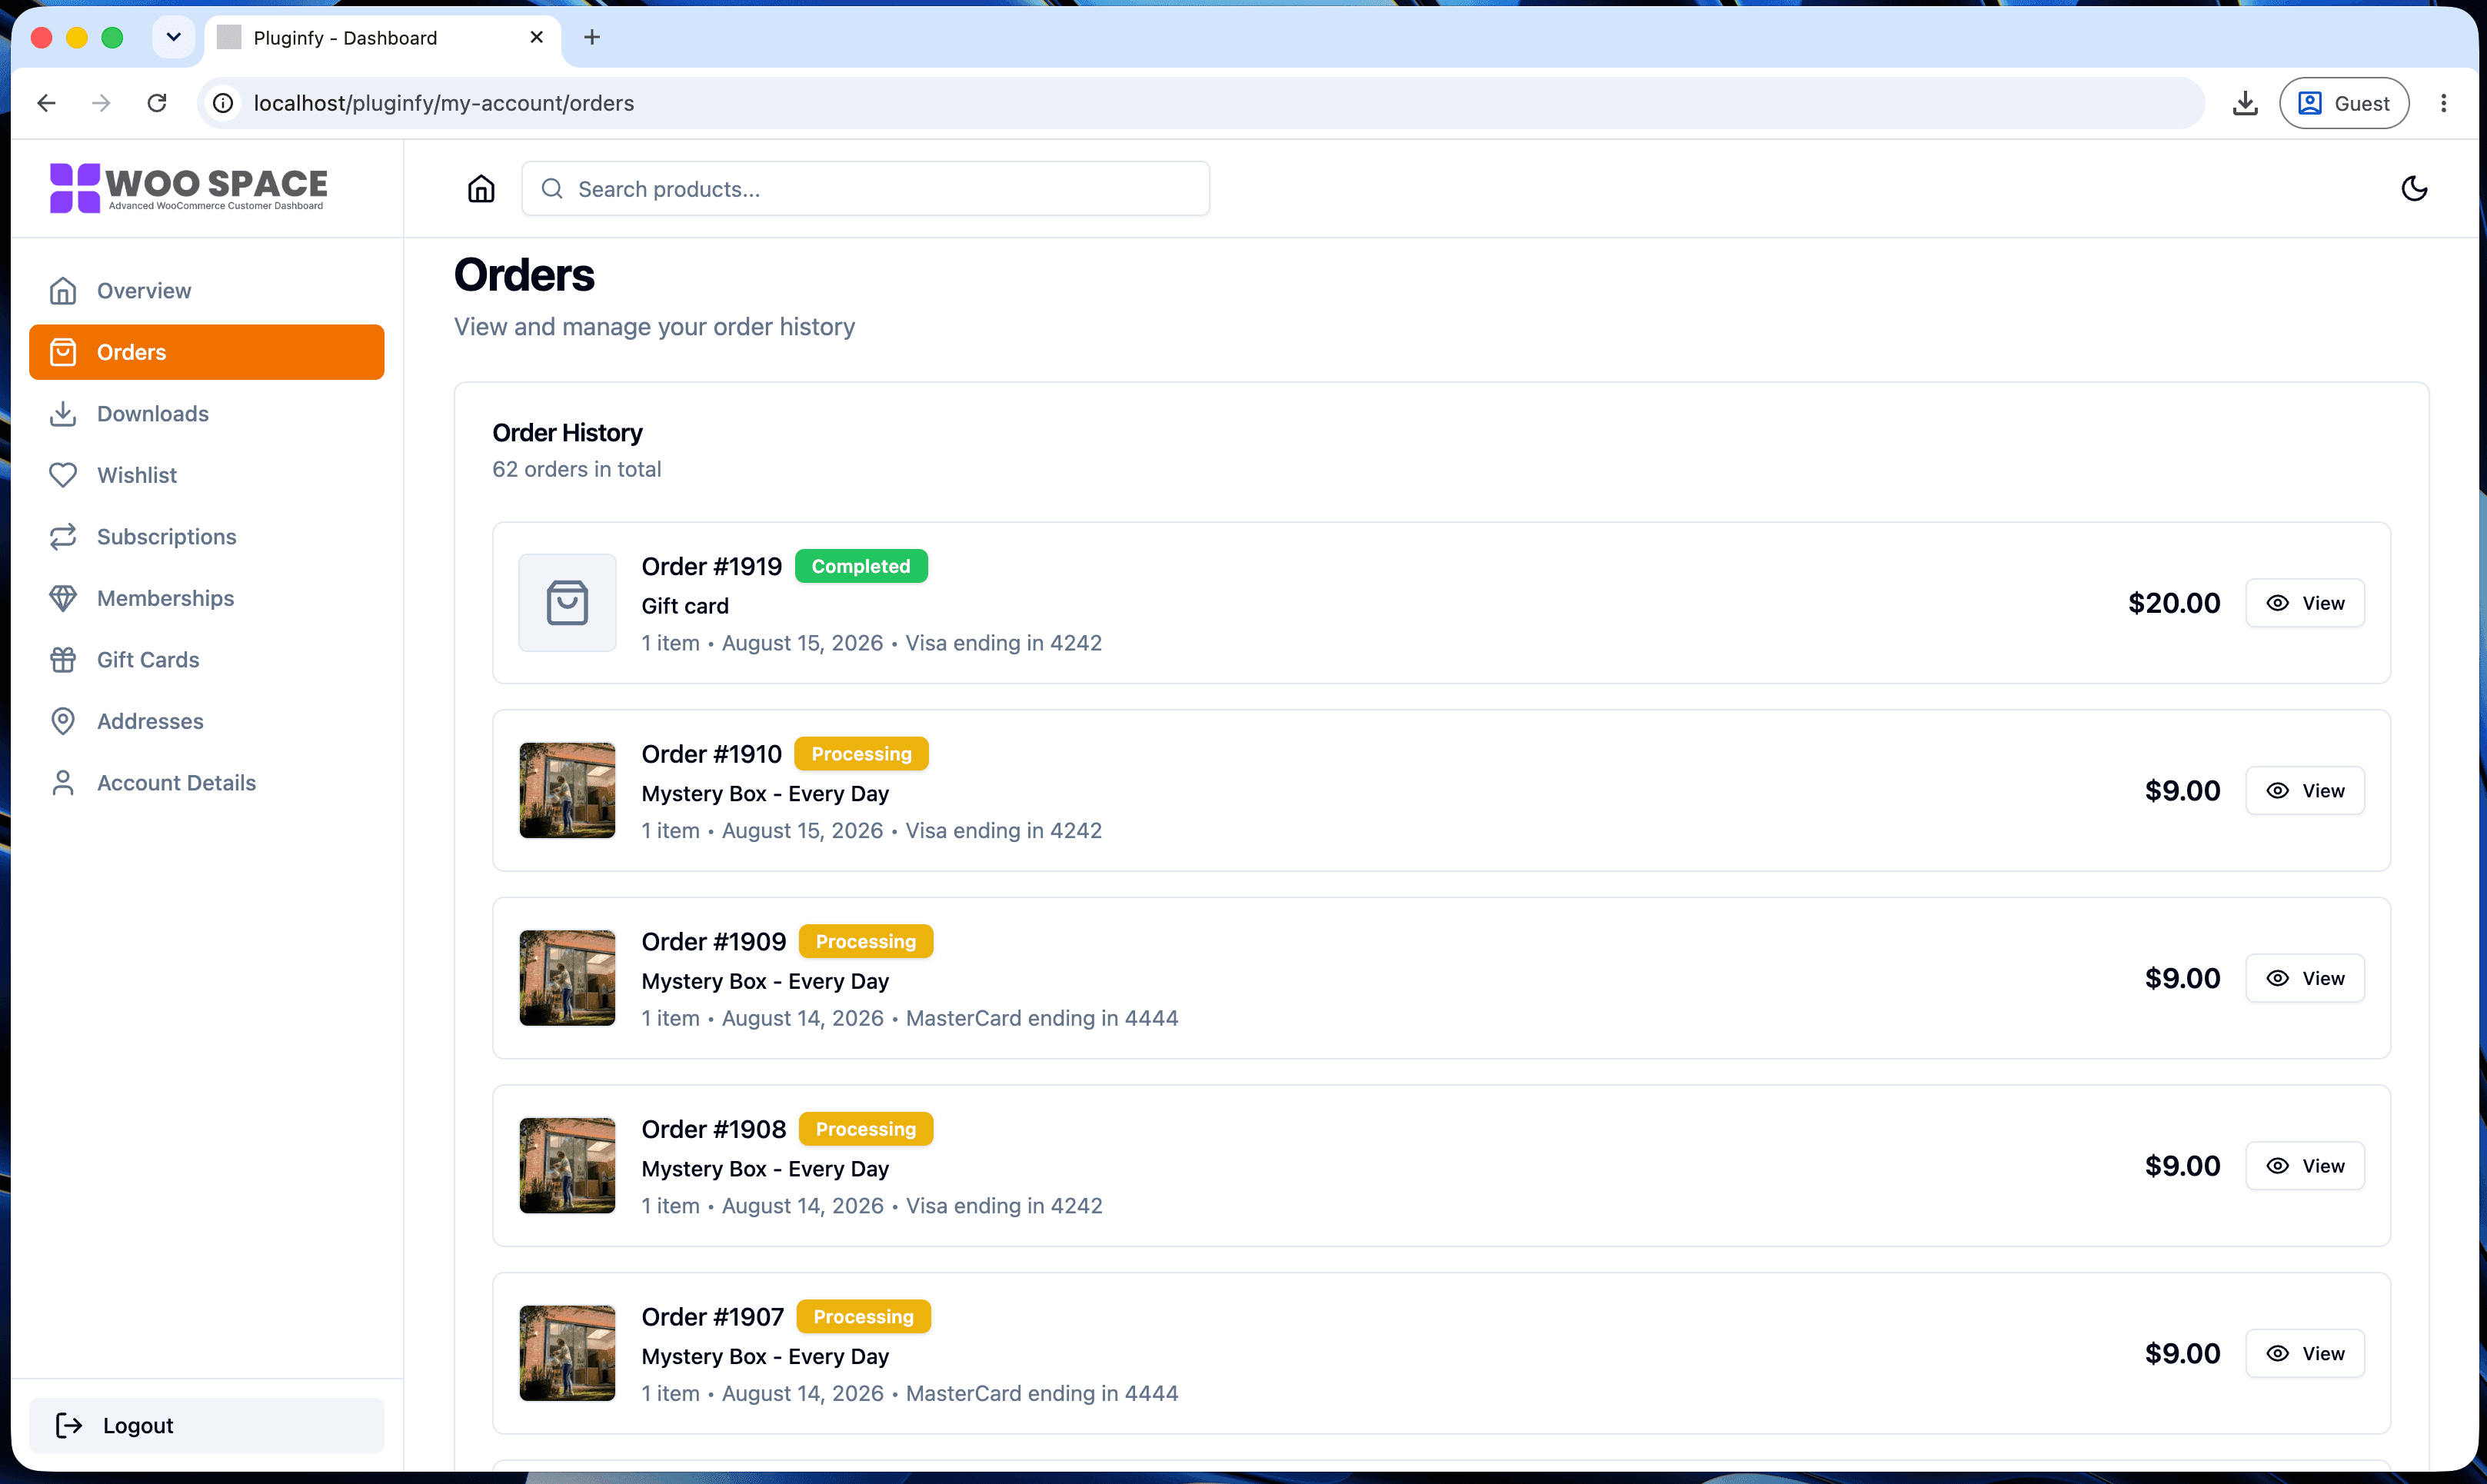
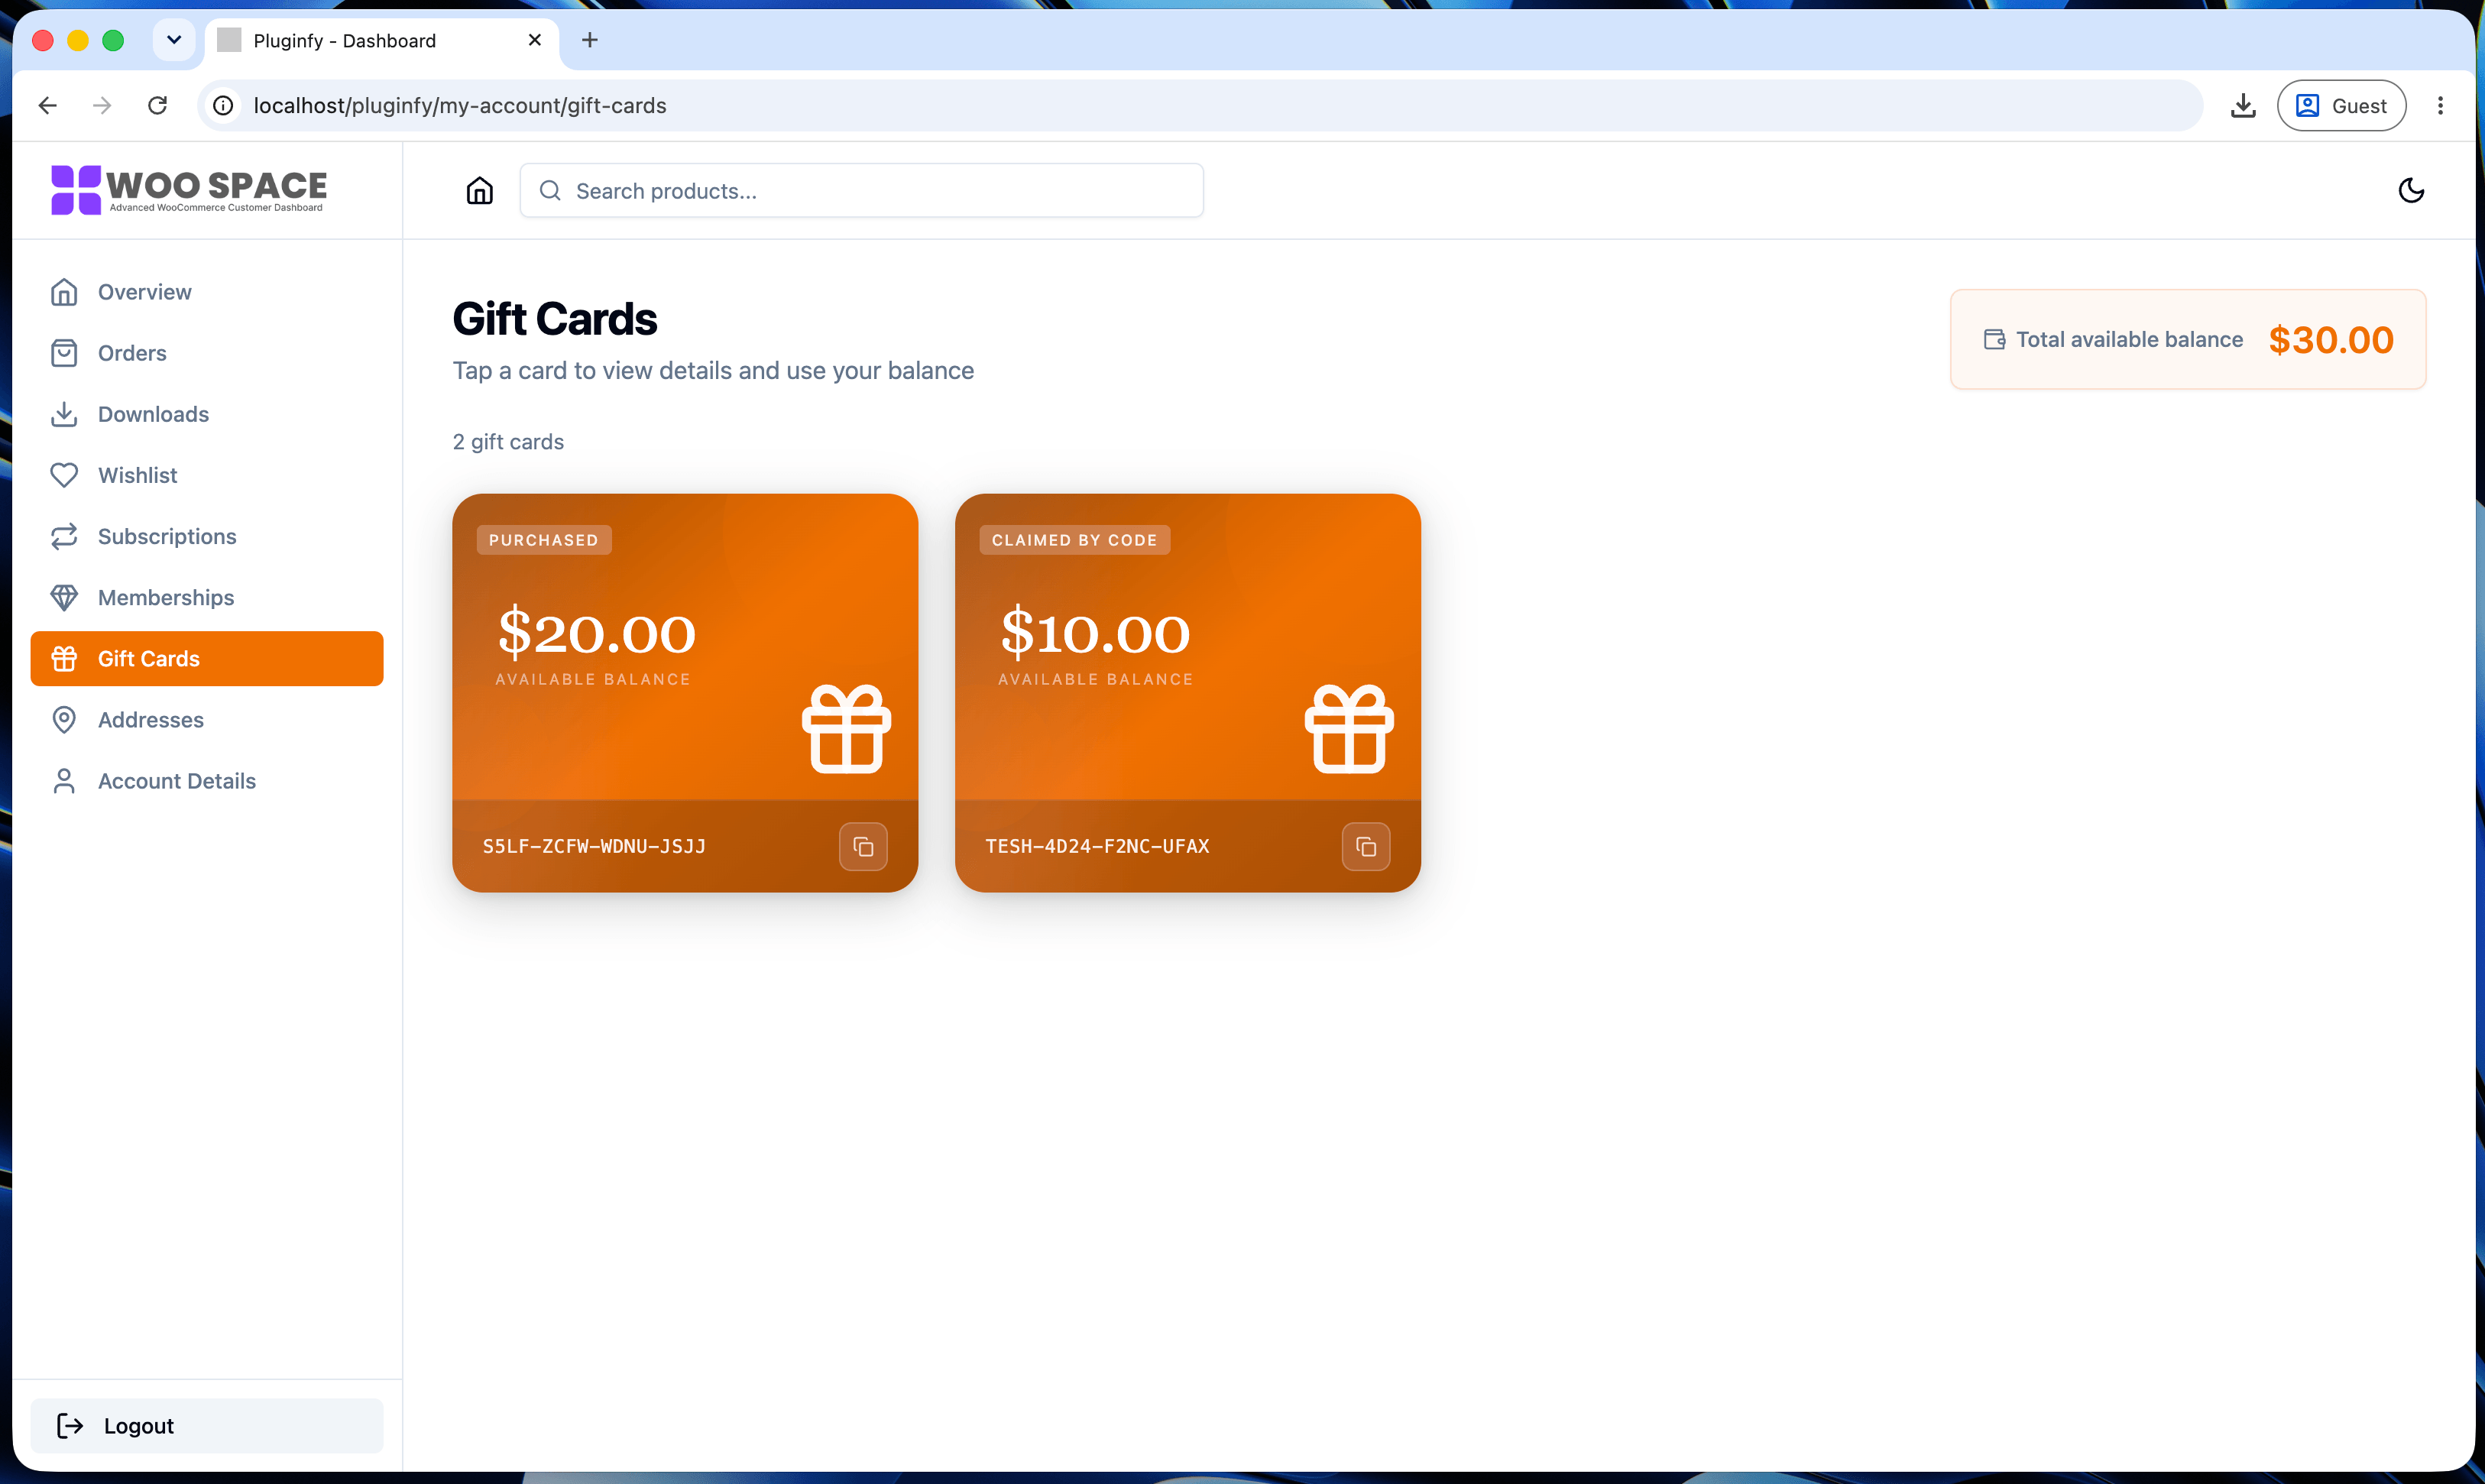
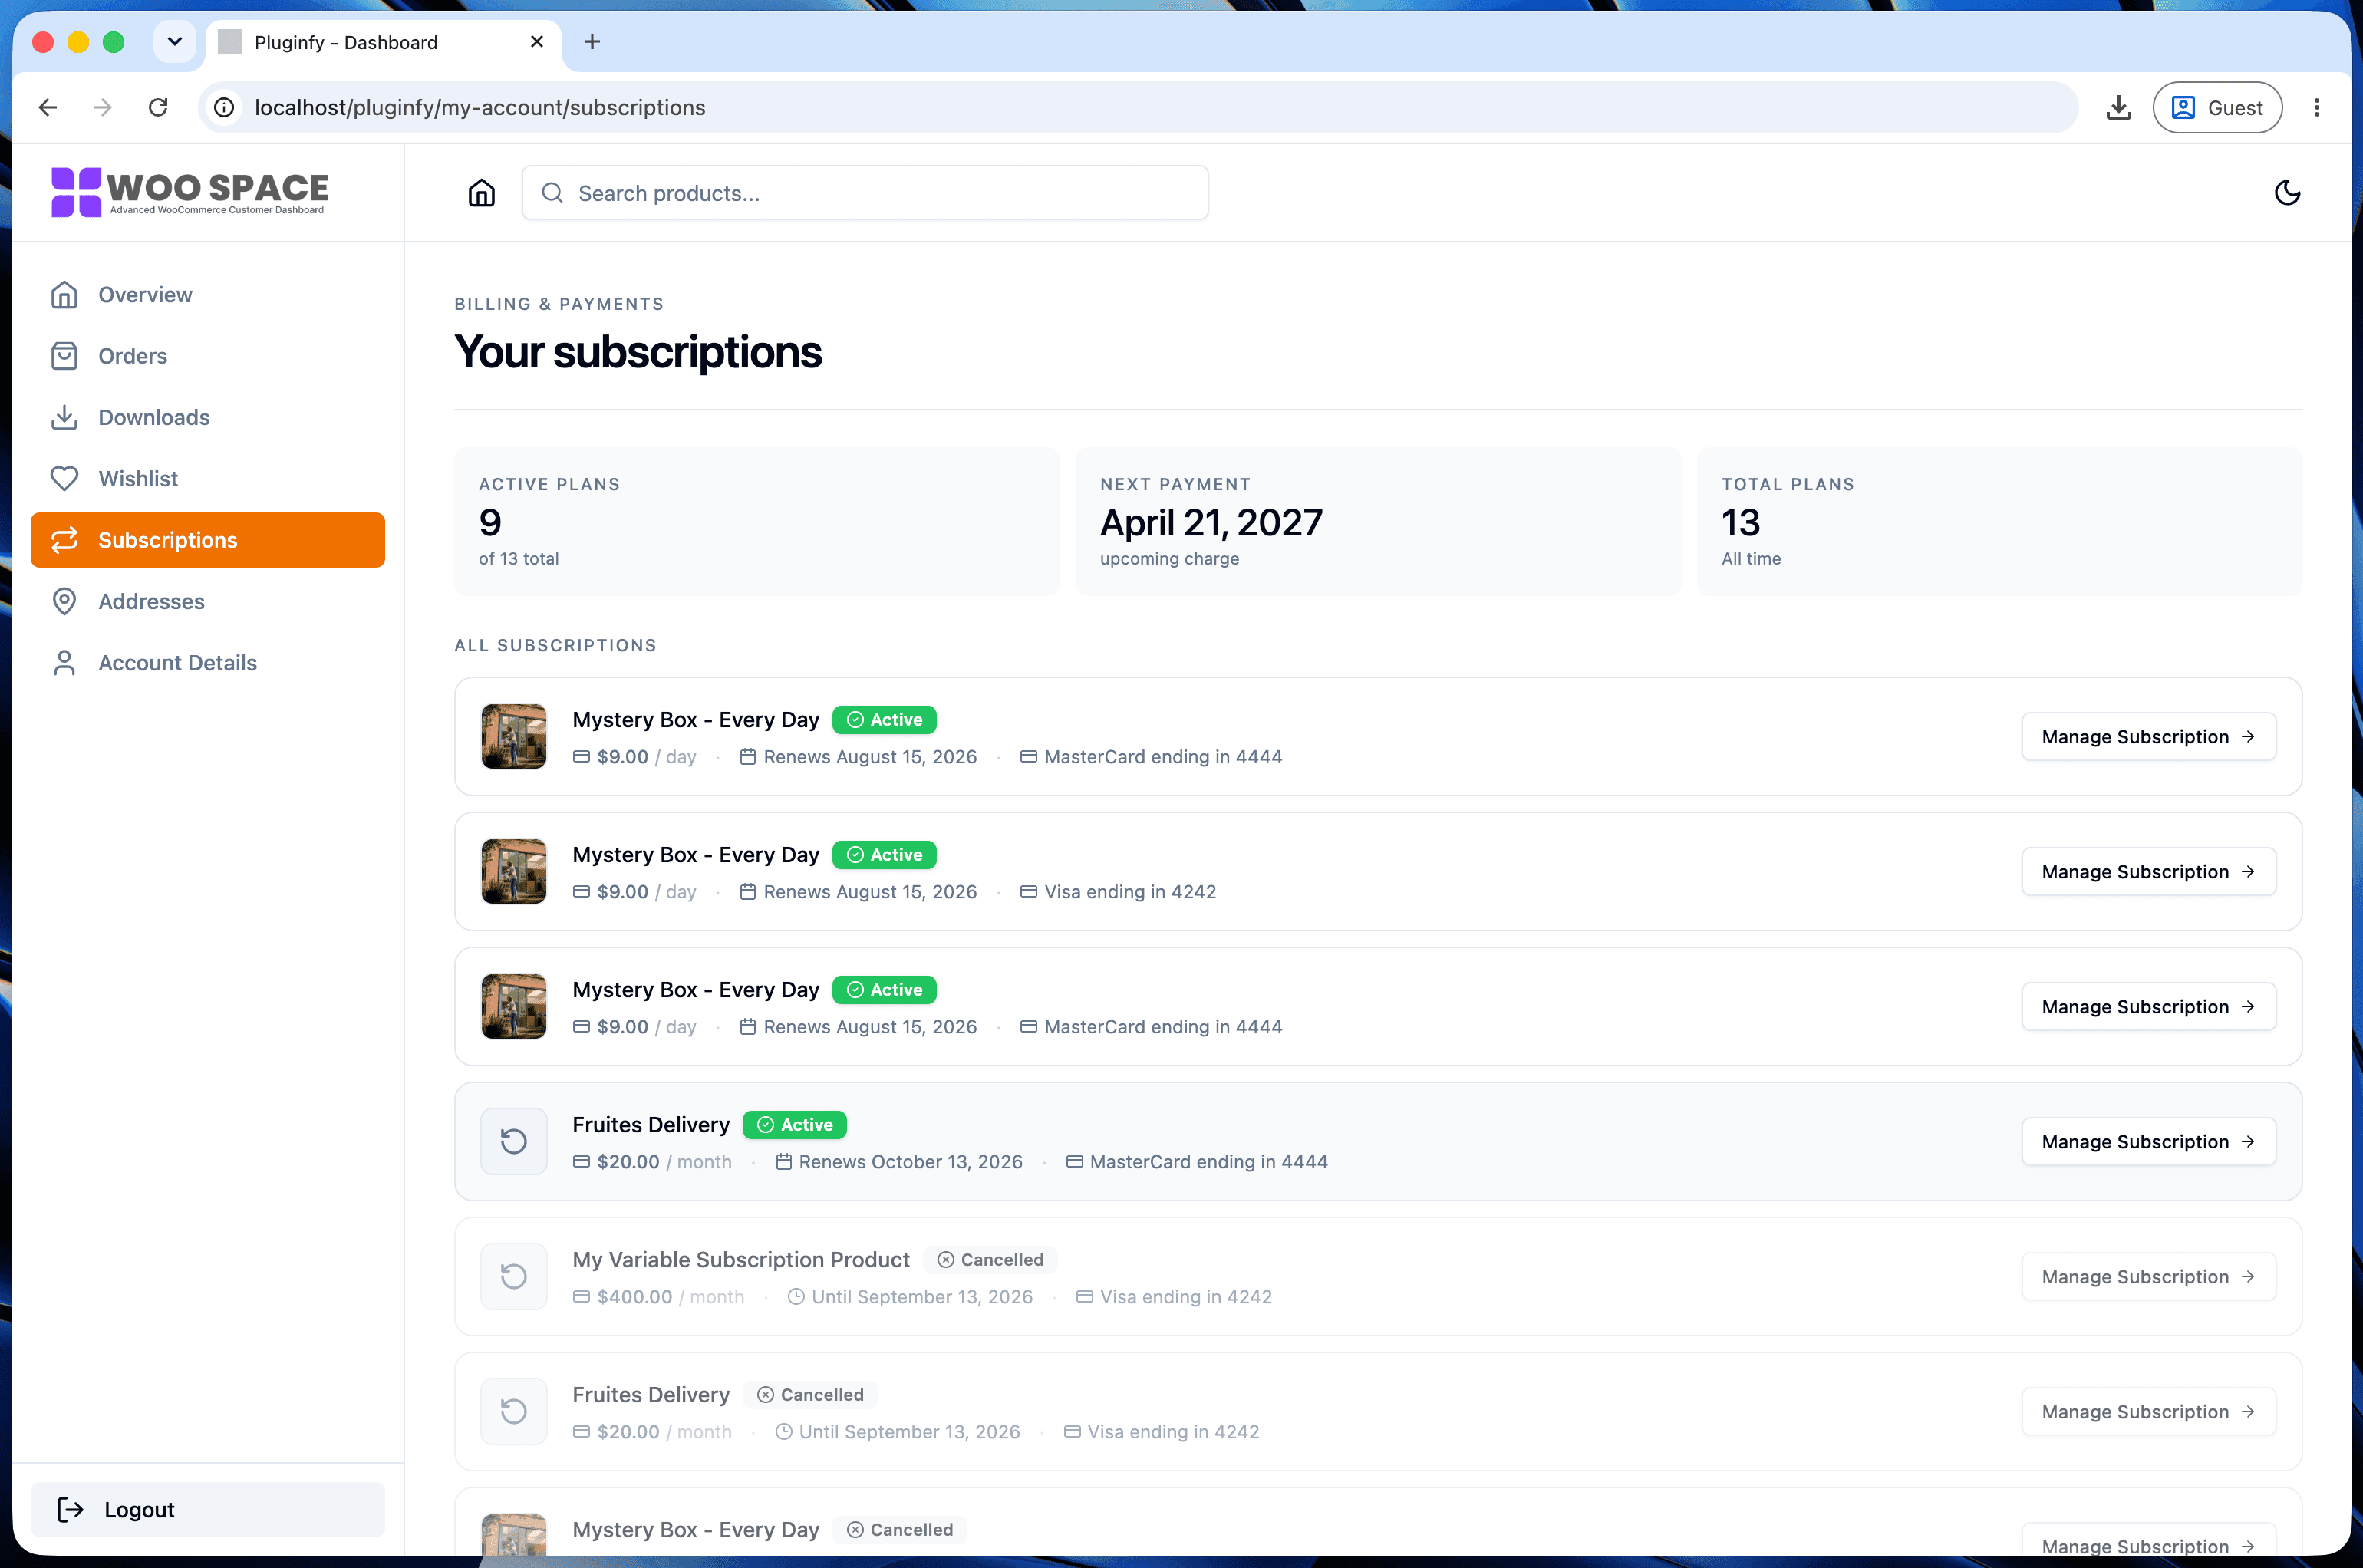
How to Install and Configure NextDash for WooCommerce
A step-by-step setup guide: install NextDash, activate your license, add the shortcode, and configure menus, branding, and dark mode.
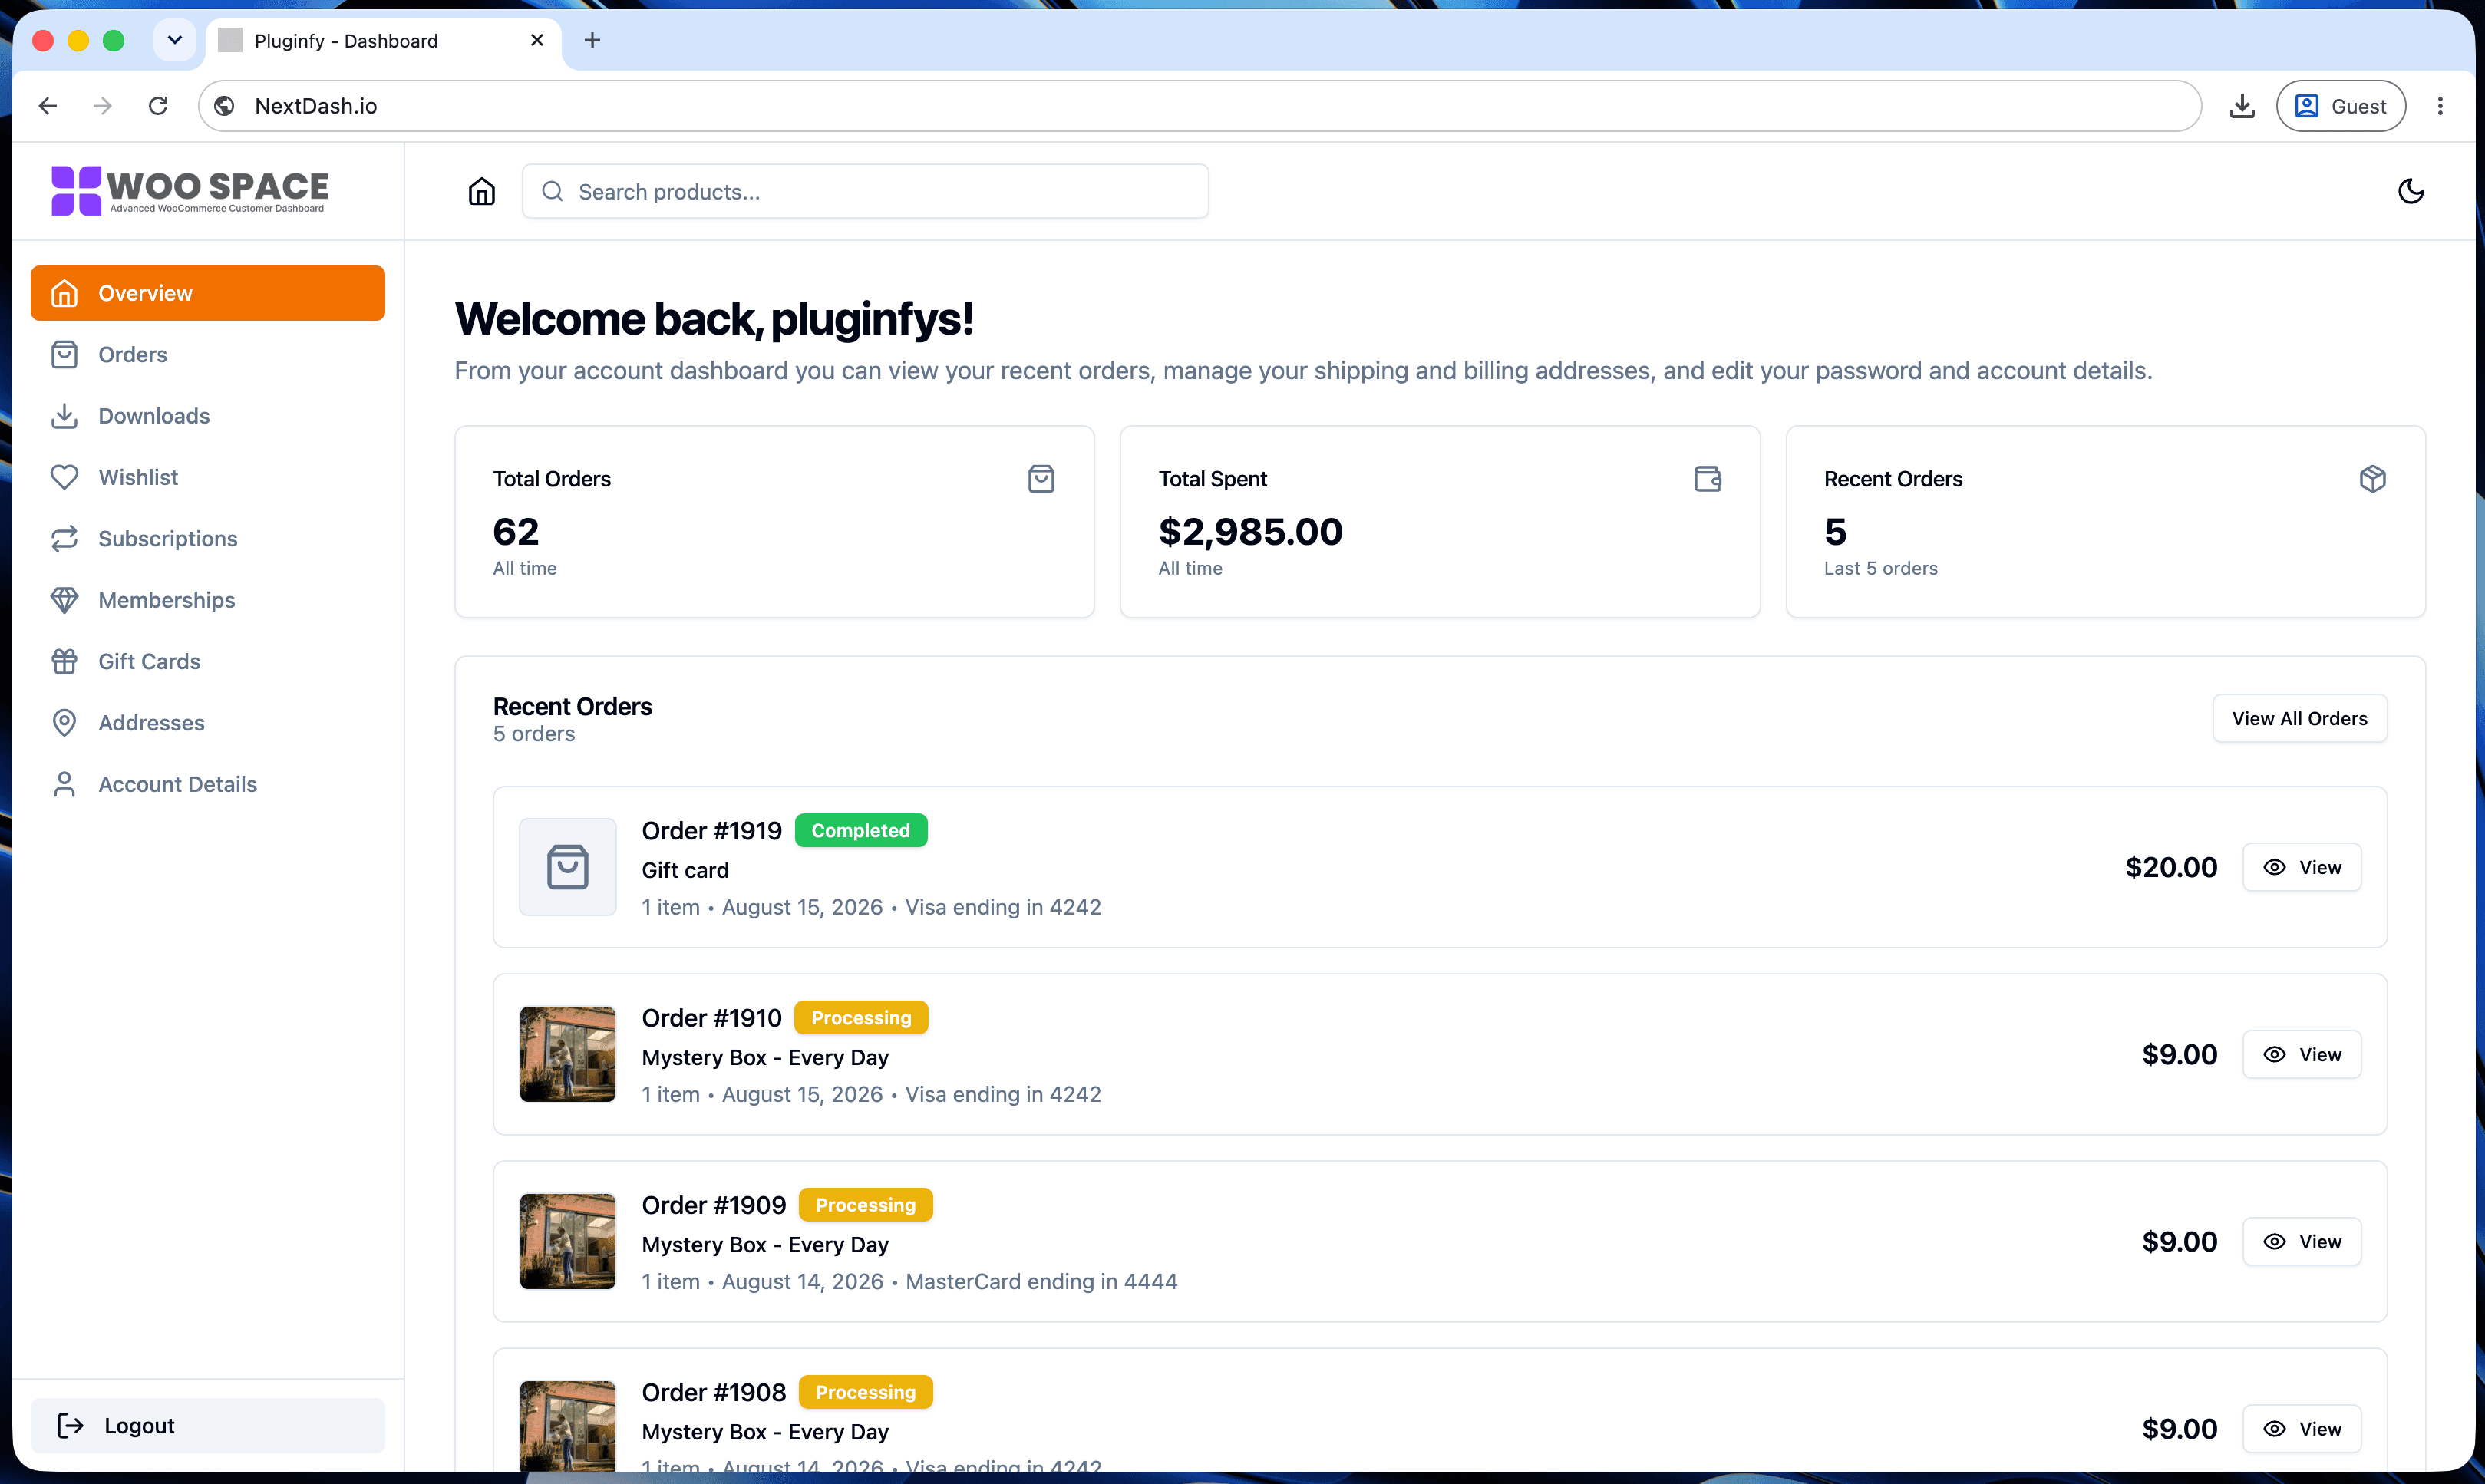
This is the setup guide for going from "just bought NextDash" to a working React My Account dashboard on your WooCommerce store. It covers both the free and premium install paths, license activation, the shortcode, and the settings you'll want to check before you call it done.
Requirements
- WordPress with WooCommerce active
- Any WordPress theme (NextDash renders its own UI, it doesn't depend on theme templates)
- Works with WooCommerce Blocks and HPOS (High-Performance Order Storage)
- A NextDash license key if you're installing a paid plan (Starter, Pro, or Business) - the free version doesn't need one
Step 1: Install the plugin
Free version: install directly from the WordPress plugin directory - wp-admin → Plugins → Add New, search "NextDash," install and activate.
Premium version: download the plugin ZIP from your NextDash dashboard
(/dashboard/downloads if you're logged in on nextdash.io), then in
wp-admin go to Plugins → Add New → Upload Plugin and select the ZIP.
Activate it the same way as any other plugin.
Step 2: Activate your license
Premium plans are activated per domain. In wp-admin under the NextDash
settings screen, paste in the license key from your NextDash account and
save. Activation is checked against your site's domain (normalized -
www, protocol, and trailing slashes are stripped, so
https://www.example.com/ and example.com count as the same site).
If you're moving a license from a staging domain to production, deactivate it on the old domain first (from the same settings screen, or from your NextDash dashboard under Licenses) - reactivating on a new domain reuses the existing activation record instead of creating a duplicate, but your plan's site limit still applies while both are active.
Step 3: Add the shortcode to your My Account page
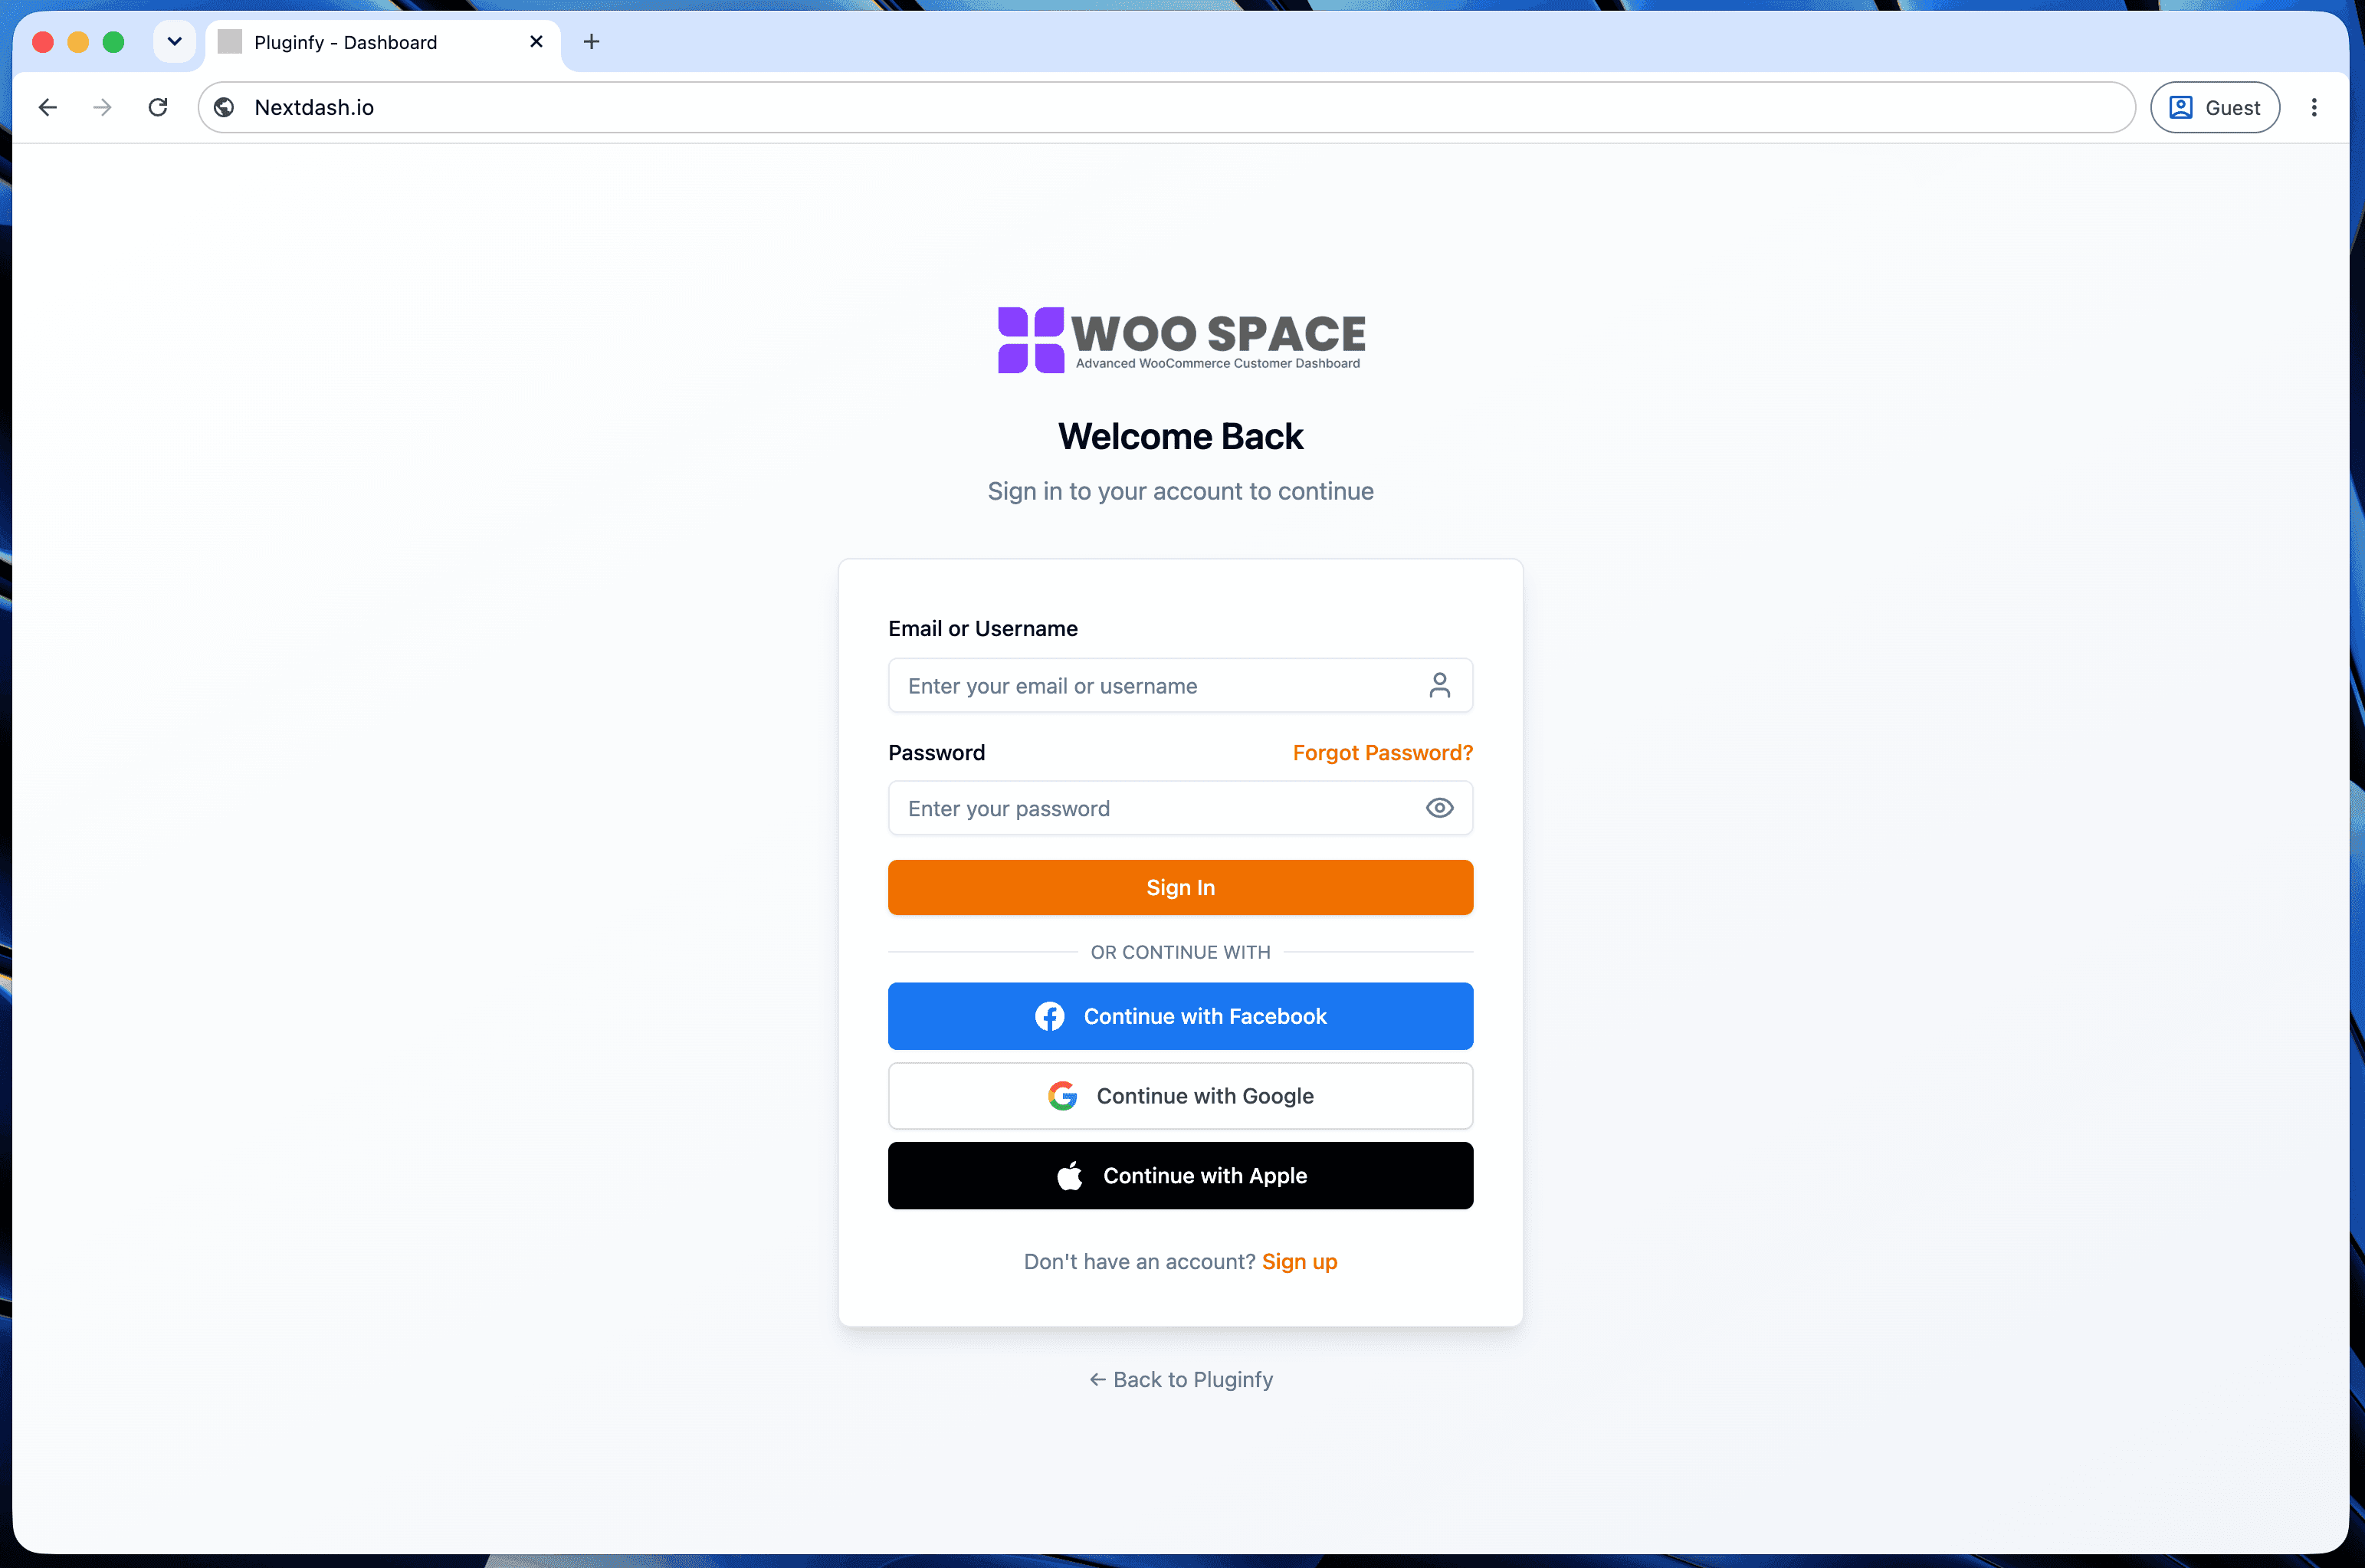
NextDash doesn't replace the WooCommerce My Account page - it renders a self-contained React application inside it via a shortcode. WooCommerce already creates a My Account page automatically; NextDash's activation either adds its shortcode to that page automatically or gives you the shortcode to paste in yourself, depending on your setup:
- In wp-admin, go to Pages and open the page WooCommerce uses for My Account (WooCommerce → Settings → Advanced → Page setup shows which page that is if you're not sure).
- Confirm the NextDash shortcode is present in the page content. If your theme or page builder stripped it, add it back and update.
- Visit
/my-account/while logged out, then logged in, to confirm the dashboard renders instead of the default WooCommerce markup.
Because this all happens on the same /my-account/ URL WooCommerce
already uses, existing links, bookmarks, and any "my account" navigation
menu items keep working without changes.
Step 4: Configure menus and branding
From the NextDash settings screen you can, without writing code:
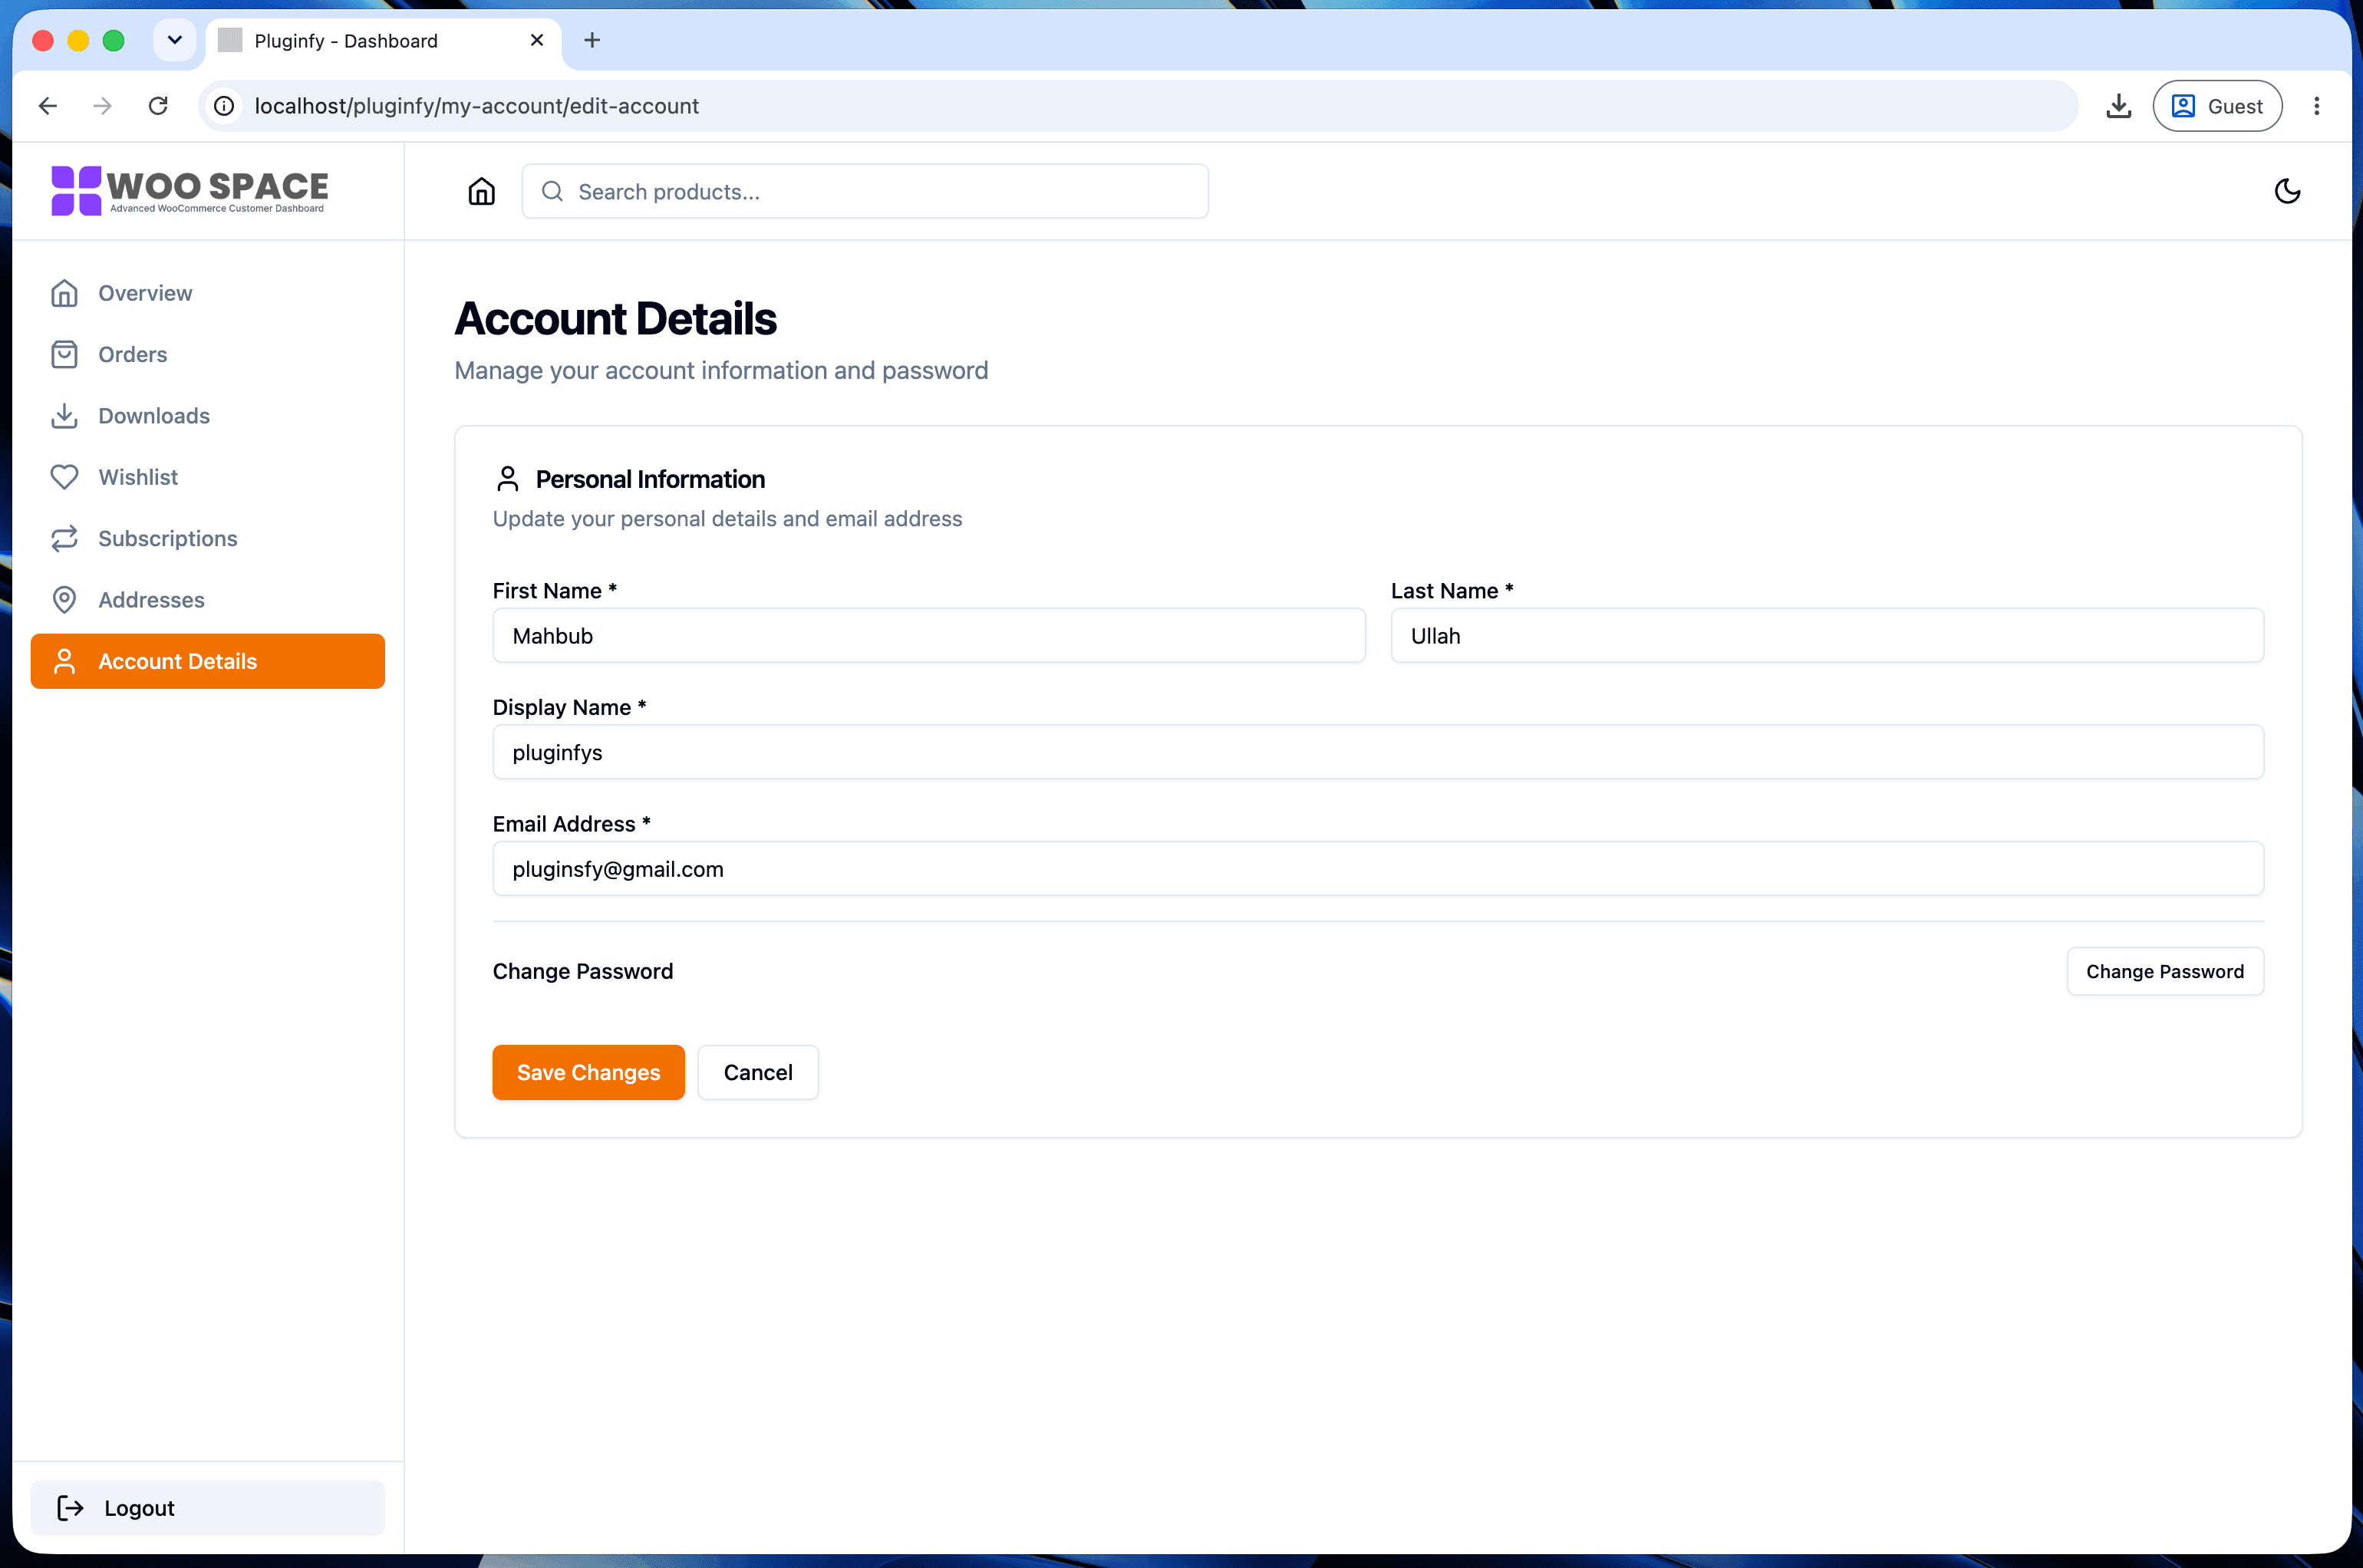
- Choose which sections appear in the dashboard menu (orders, downloads, addresses, subscriptions, memberships, bookings, gift cards - premium sections only show up if your plan includes them)
- Set brand colors and logo so the dashboard matches your store instead of looking like a separate app bolted onto WooCommerce
- Set the default theme mode: light, dark, or system (follows the customer's OS/browser preference)
Step 5: Turn on social login (optional)
If your plan includes social login, enabling Google, Facebook, or Apple sign-in requires creating OAuth credentials with that provider first (a Google Cloud project, a Facebook app, etc.) and pasting the client ID and secret into the NextDash settings screen. Do this in a staging environment first if you can - a misconfigured redirect URI is the most common reason social login fails on first try, and it's easier to debug without live customers hitting it.
Step 6: Test before you consider it done
At minimum, check:
- Logging in and out on both desktop and mobile
- Placing a test order and confirming it shows up under Orders
- Downloading a digital product (if you sell any) from the Downloads tab
- Editing an address and saving it
- Switching light/dark mode if you enabled the toggle
Troubleshooting
The shortcode page still shows the default WooCommerce layout. Usually
a caching issue (page cache or CDN serving a stale version) or a theme
override in woocommerce/myaccount/ taking priority - see our guide to
WooCommerce template overrides
for how to check for one.
License activation fails. Double check the key was copied without extra whitespace, and that you haven't hit your plan's site limit - deactivate an unused site from your NextDash dashboard under Licenses to free up a slot.
Custom endpoints/tabs I built before installing NextDash disappeared
from the menu. NextDash renders its own menu from its settings, so
manually-added woocommerce_account_menu_items entries won't show up
automatically. See our custom tab tutorial
for how those endpoints work, then surface them through NextDash's
developer hooks instead of the raw woocommerce_account_menu_items filter.
FAQ
Do I need to keep the default WooCommerce My Account page around? No - NextDash renders on the same page and URL WooCommerce already uses, so there's nothing extra to keep or remove.
Can I use NextDash on a staging site before going live? Yes. Activate the license on your staging domain, test everything, then deactivate it there and activate on production when you're ready - see Step 2.
Does installing NextDash require editing theme files? No. Installation is plugin activation plus a shortcode; branding and menu configuration happen from the settings screen, not template overrides.
Skip the custom code — install NextDash
NextDash replaces the default WooCommerce My Account page with a modern React dashboard out of the box: order management, downloads, addresses, dark mode, and fast client-side navigation, no template overrides required.