How to Add Dark Mode to WooCommerce My Account
Build a real dark mode toggle for the WooCommerce My Account page with CSS custom properties, no flash of wrong theme.
Our CSS styling guide
covered a prefers-color-scheme-only dark mode - zero JavaScript, but no
manual toggle, since it can only follow the visitor's OS setting. This
post builds the version most stores actually want: a toggle the customer
can click, that remembers their choice, and doesn't flash the wrong theme
for a split second on every page load.
Why filter: invert() hacks don't work
The fastest-looking dark mode hack is a single CSS line:
html.dark-mode {
  filter: invert(1) hue-rotate(180deg);
}
It's also almost always wrong for a real store. Inverting the whole page inverts everything - product photos, your logo, brand colors that were deliberately chosen - not just the background and text you actually want to flip. It's a demo trick, not something to ship.
The right approach: tokens + a data-theme attribute
Define your colors once as CSS custom properties, keyed off an attribute
on <html> that JavaScript toggles:
:root,
[data-theme="light"] {
  --account-bg: #ffffff;
  --account-fg: #18181b;
  --account-border: #e5e7eb;
  --account-card: #f9fafb;
}

[data-theme="dark"] {
  --account-bg: #18181b;
  --account-fg: #f4f4f5;
  --account-border: #3f3f46;
  --account-card: #27272a;
}

.woocommerce-MyAccount-content,
.woocommerce-MyAccount-navigation {
  background: var(--account-bg);
  color: var(--account-fg);
  border-color: var(--account-border);
}
Using an attribute rather than a class ([data-theme="dark"] instead of
.dark) is a small but useful convention: it makes "what theme is
active" a single readable value instead of a class that may or may not be
present.
Step 1: the toggle button and persistence
<button id="theme-toggle" aria-label="Toggle dark mode">🌓</button>
const root = document.documentElement;
const STORAGE_KEY = 'account-theme';

function applyTheme(theme) {
  root.setAttribute('data-theme', theme);
  localStorage.setItem(STORAGE_KEY, theme);
}

document.getElementById('theme-toggle').addEventListener('click', () => {
  const current = root.getAttribute('data-theme');
  applyTheme(current === 'dark' ? 'light' : 'dark');
});
Saving to localStorage means the choice survives a page reload -
important here specifically, since the default My Account page reloads
fully on every tab click.
Step 2: respect system preference on first visit
Before a customer has ever clicked the toggle, default to their OS/browser setting instead of always starting light:
function initialTheme() {
  const saved = localStorage.getItem(STORAGE_KEY);
  if (saved) return saved;

  return window.matchMedia('(prefers-color-scheme: dark)').matches
    ? 'dark'
    : 'light';
}

applyTheme(initialTheme());
Step 3: fixing the flash of wrong theme
Here's the part most tutorials skip. If the script above runs after the
page has already painted (which is normal - your enqueued JS typically
loads and executes after initial render), a dark-mode visitor sees a
flash of the light theme before it switches. Fix it with a tiny inline
script in <head>, before any CSS or the rest of your JS loads:
add_action( 'wp_head', function () {
    if ( ! is_account_page() ) {
        return;
    }
    ?>
    <script>
      (function () {
        var saved = localStorage.getItem('account-theme');
        var theme = saved || (window.matchMedia('(prefers-color-scheme: dark)').matches ? 'dark' : 'light');
        document.documentElement.setAttribute('data-theme', theme);
      })();
    </script>
    <?php
}, 1 );
Because this runs synchronously in <head> before the browser paints
anything, the data-theme attribute (and therefore the correct colors)
is set before the first pixel renders - no flash, no flicker.
Applying tokens across every My Account screen
Reuse the same selectors from our CSS styling
guide - navigation, content
area, orders table, address cards, form inputs - and swap hardcoded colors
for the var(--account-*) tokens defined above. Once the tokens exist,
theming every screen is a find-and-replace, not five separate dark-mode
implementations. This pairs with the other design patterns in our
design examples roundup
- dark mode is one of five patterns that separate a modern account page from a default one.
FAQ
Do I need a cookie instead of localStorage for this?
No, unless you need the theme available server-side (for example,
server-rendering the correct theme on first byte). localStorage is
simpler and sufficient for a client-toggled preference like this one.
What if a customer has JavaScript disabled?
The [data-theme="light"] fallback in the CSS means they get the light
theme by default - a reasonable degrade, since dark mode is a convenience
feature, not required for the page to function.
Is this what NextDash's dark mode does?
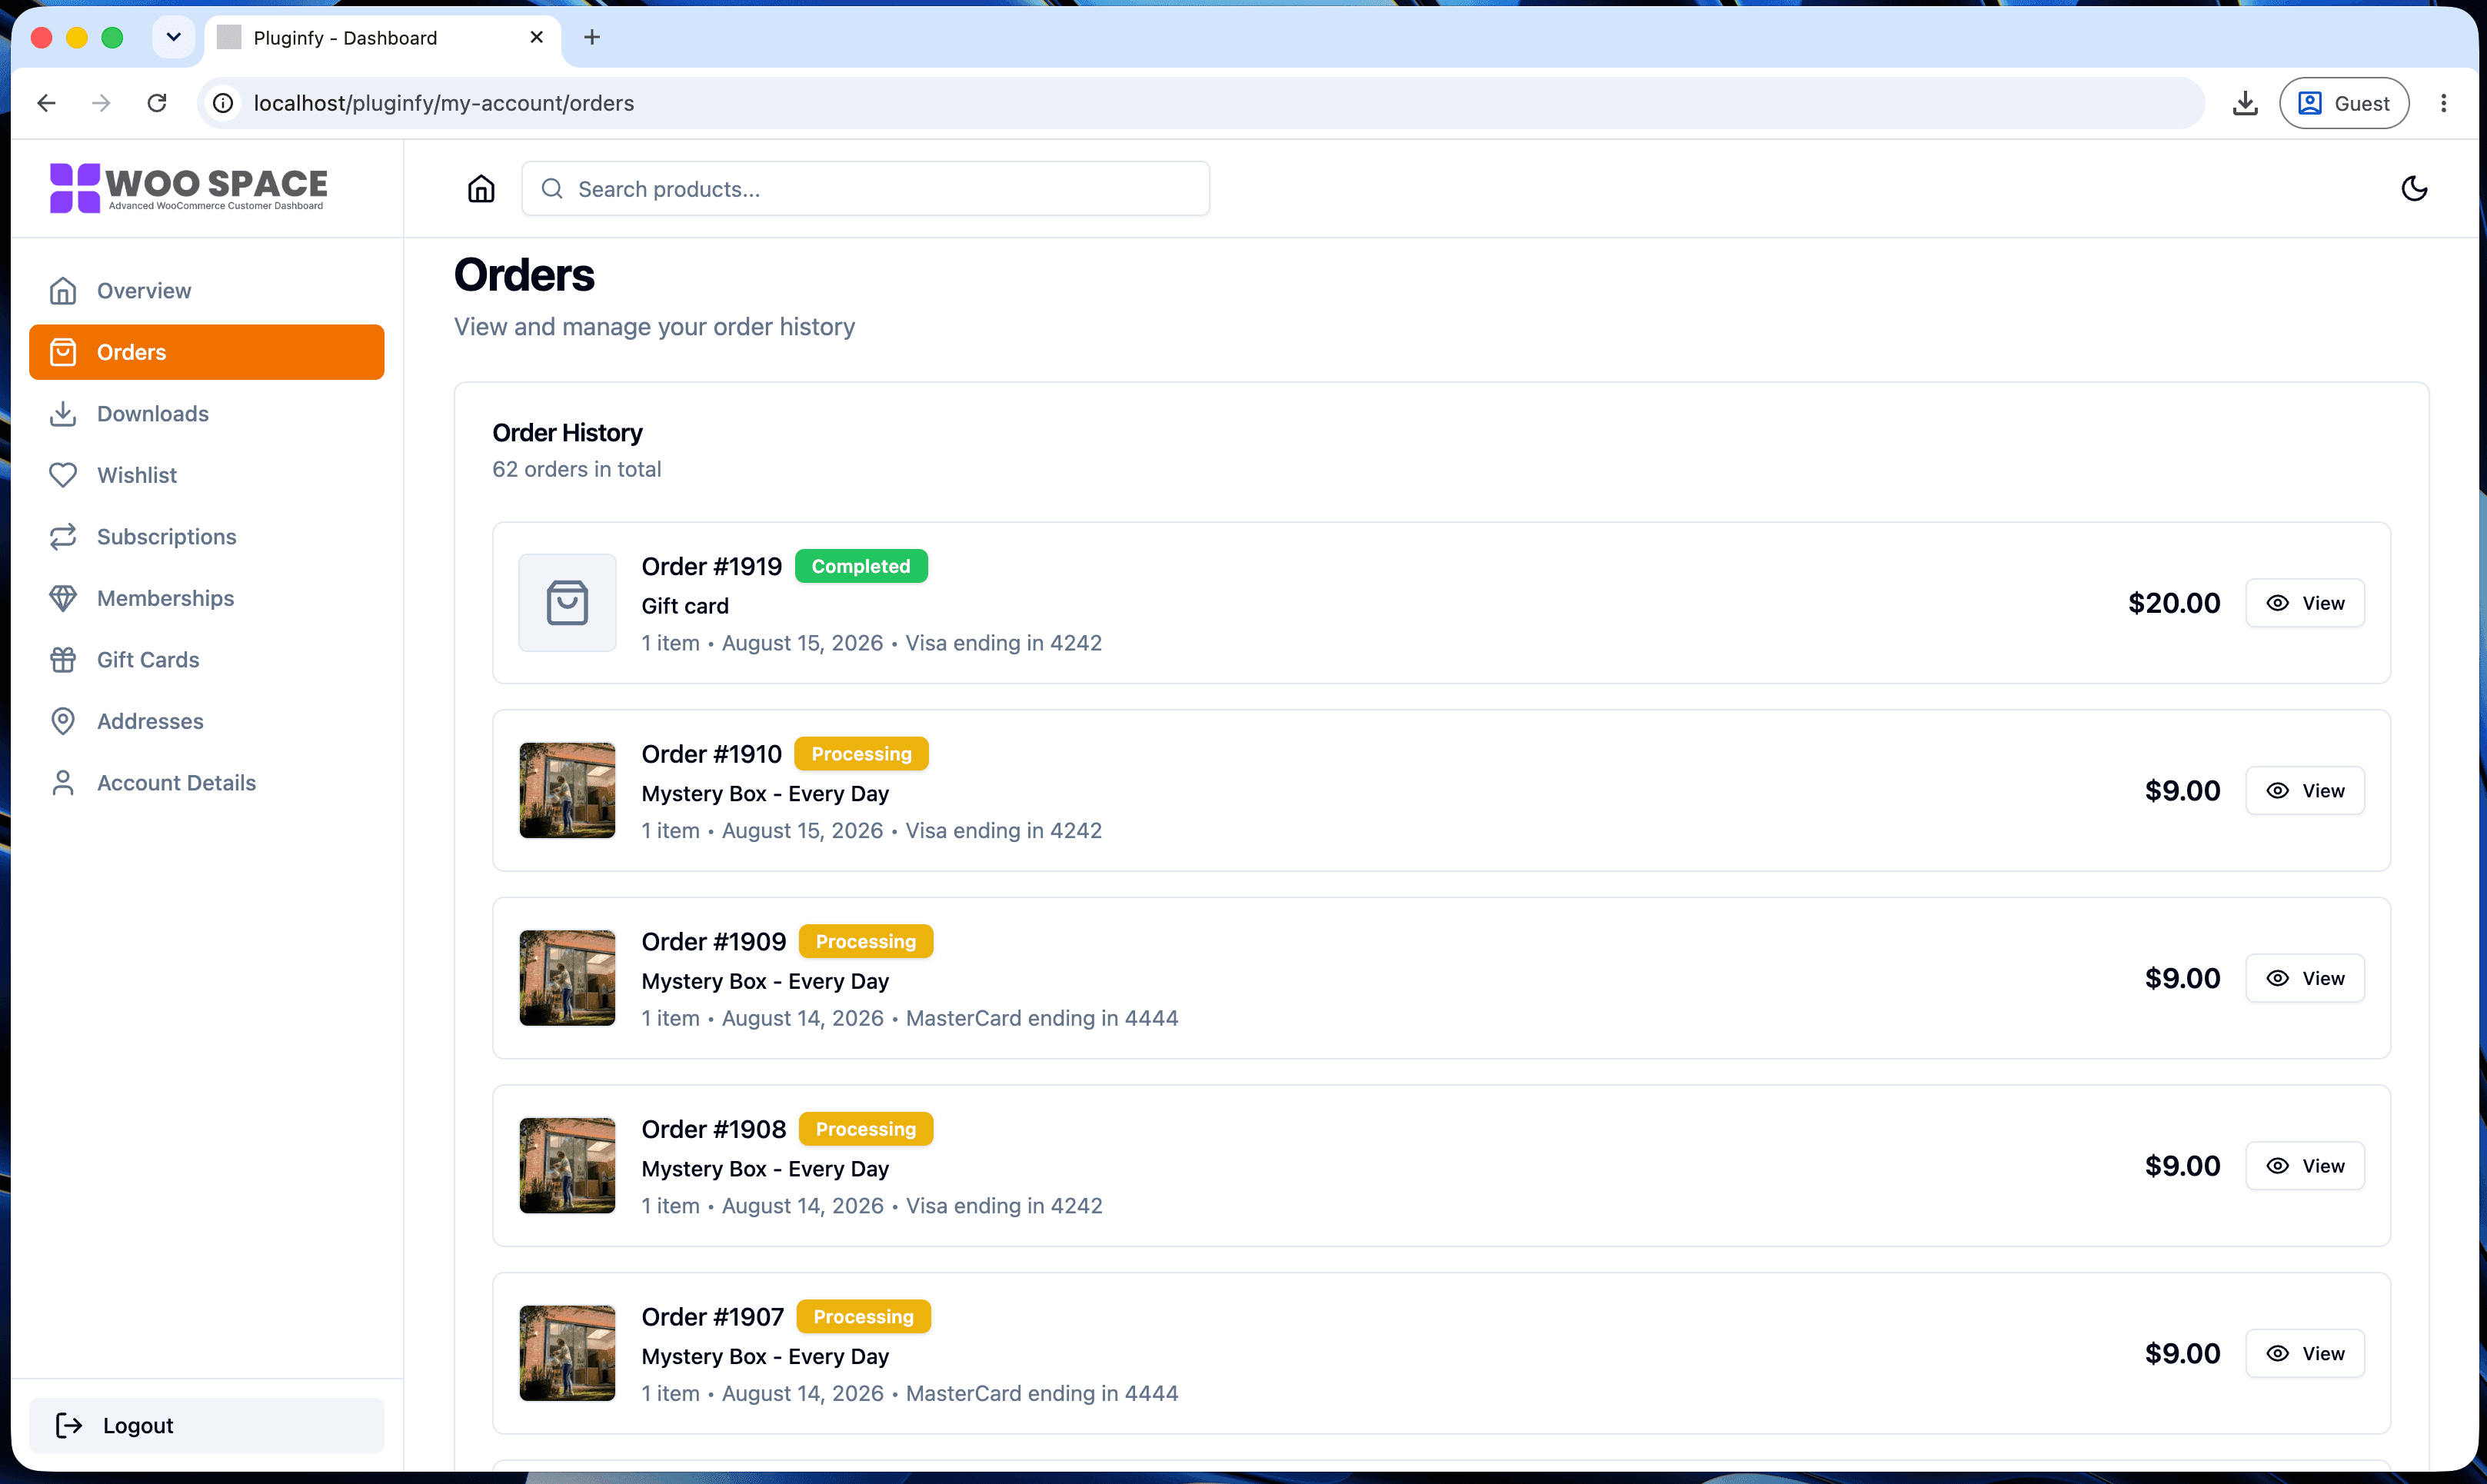
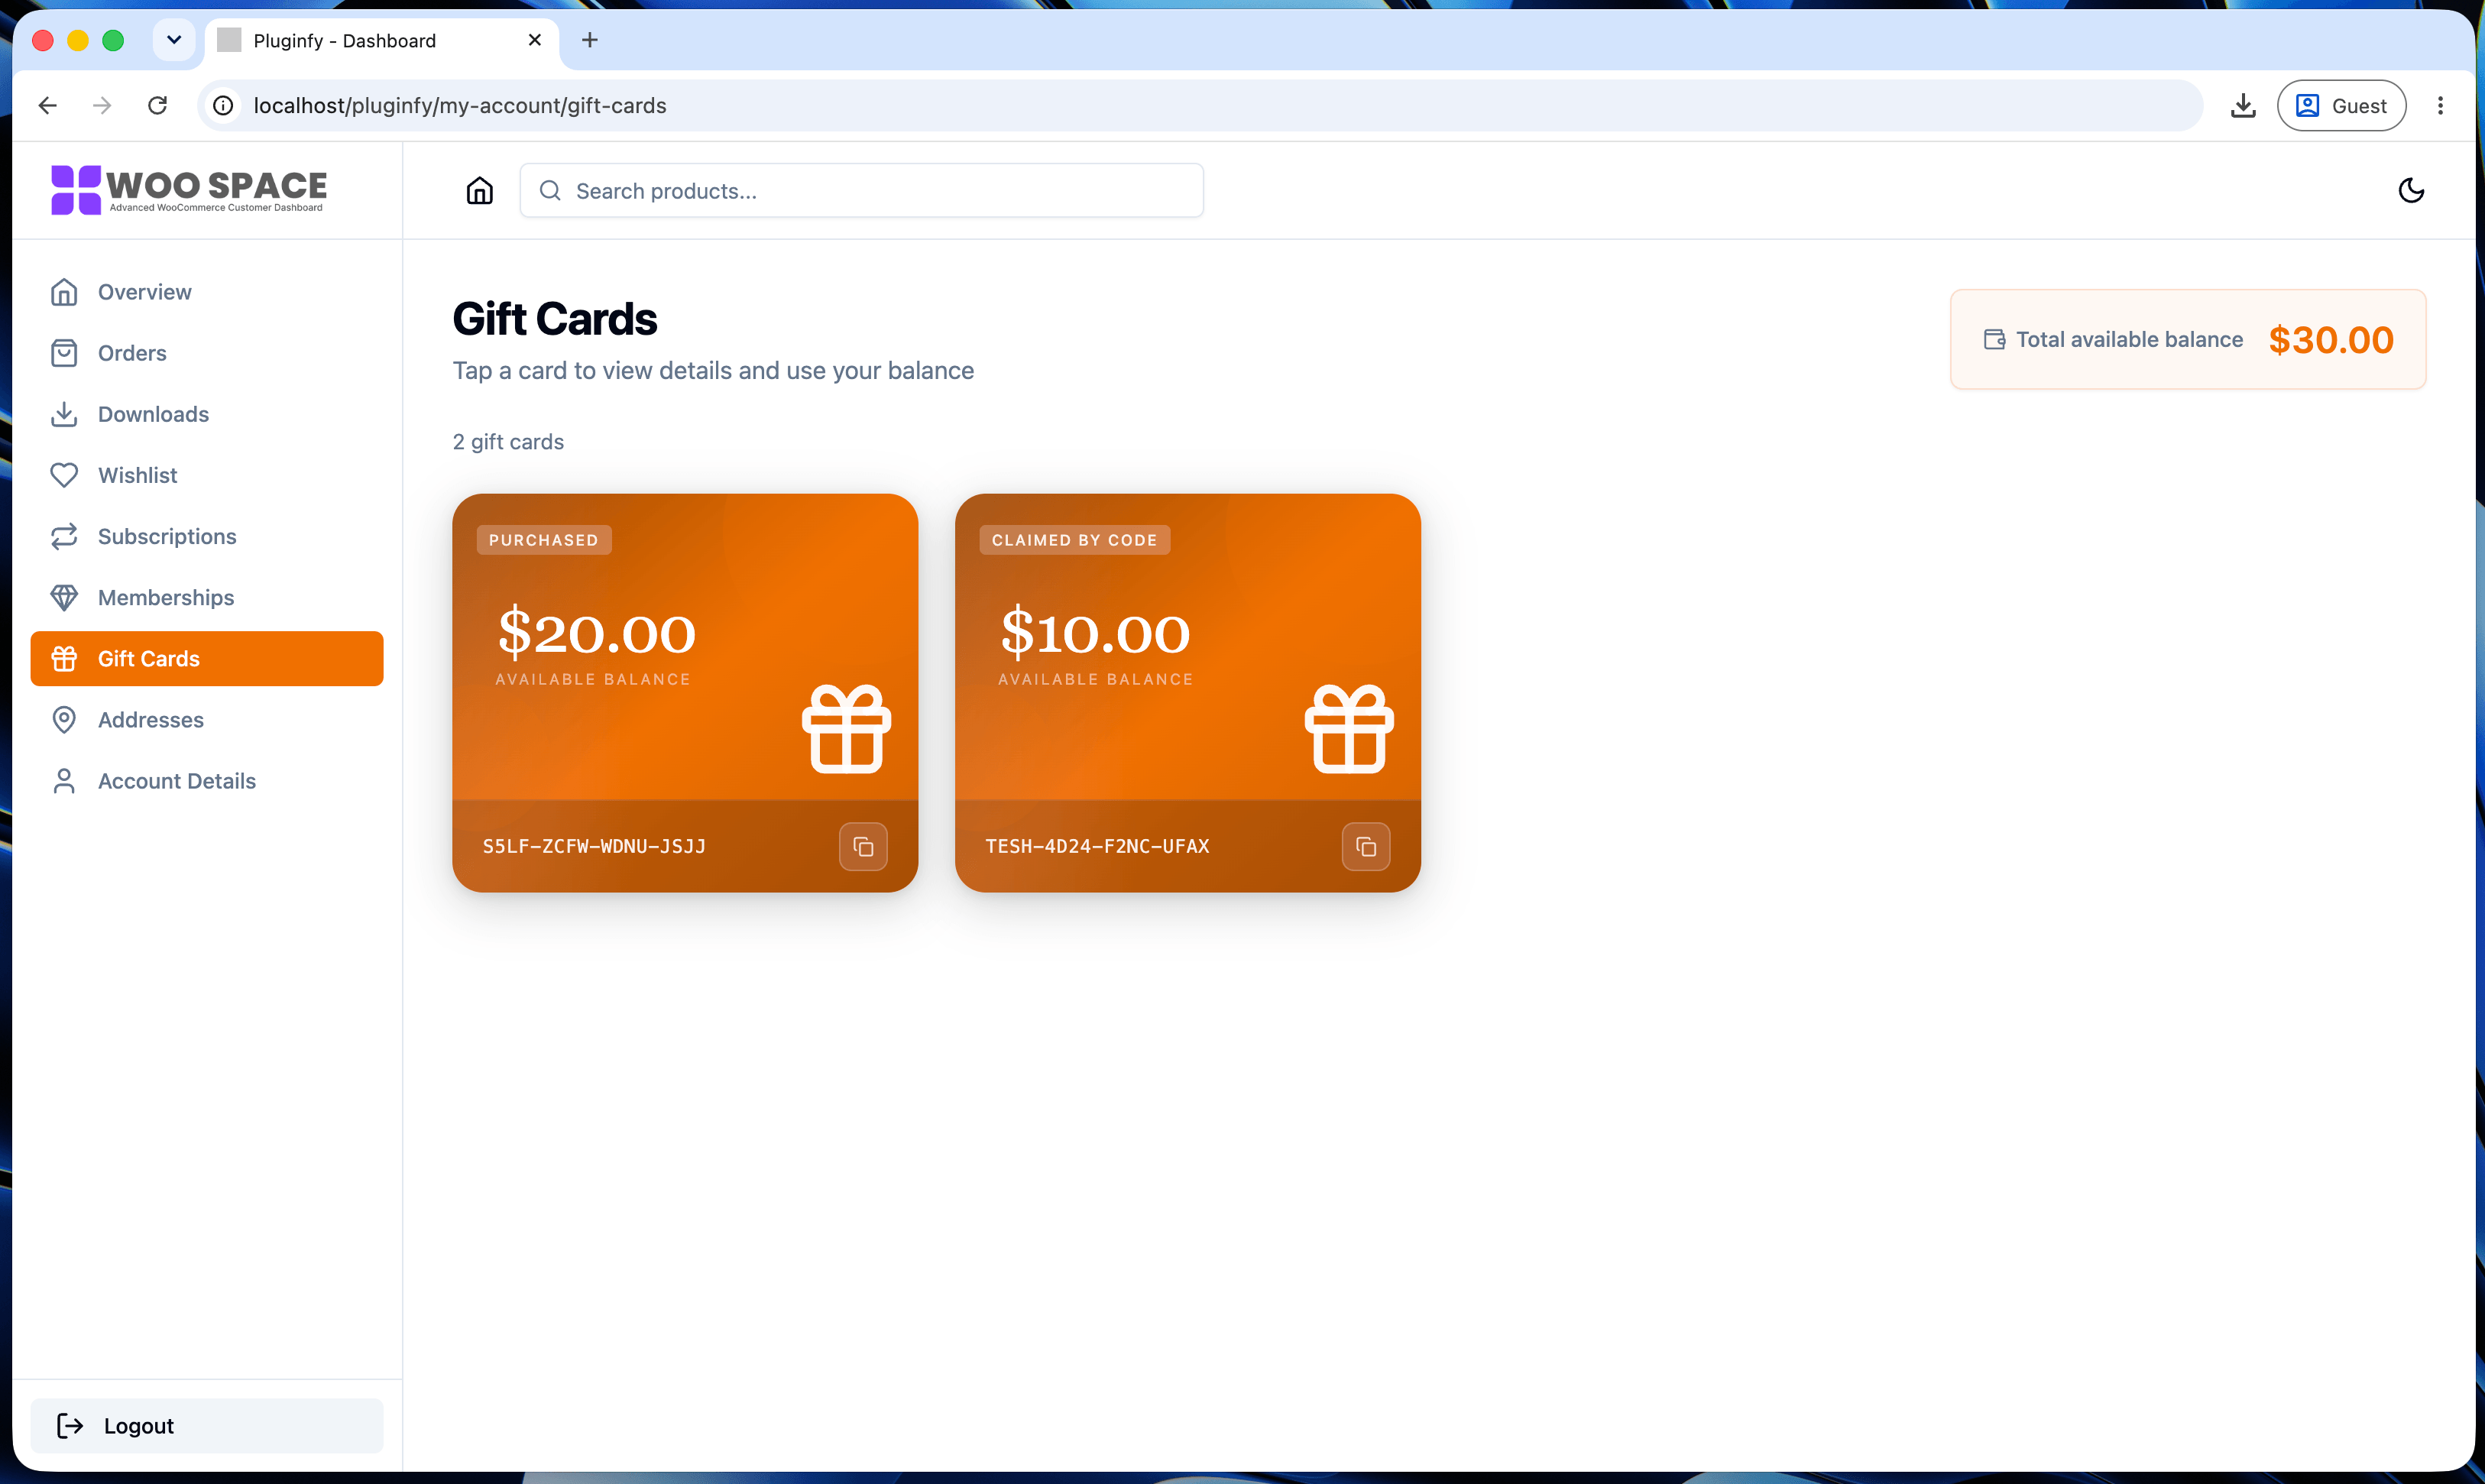
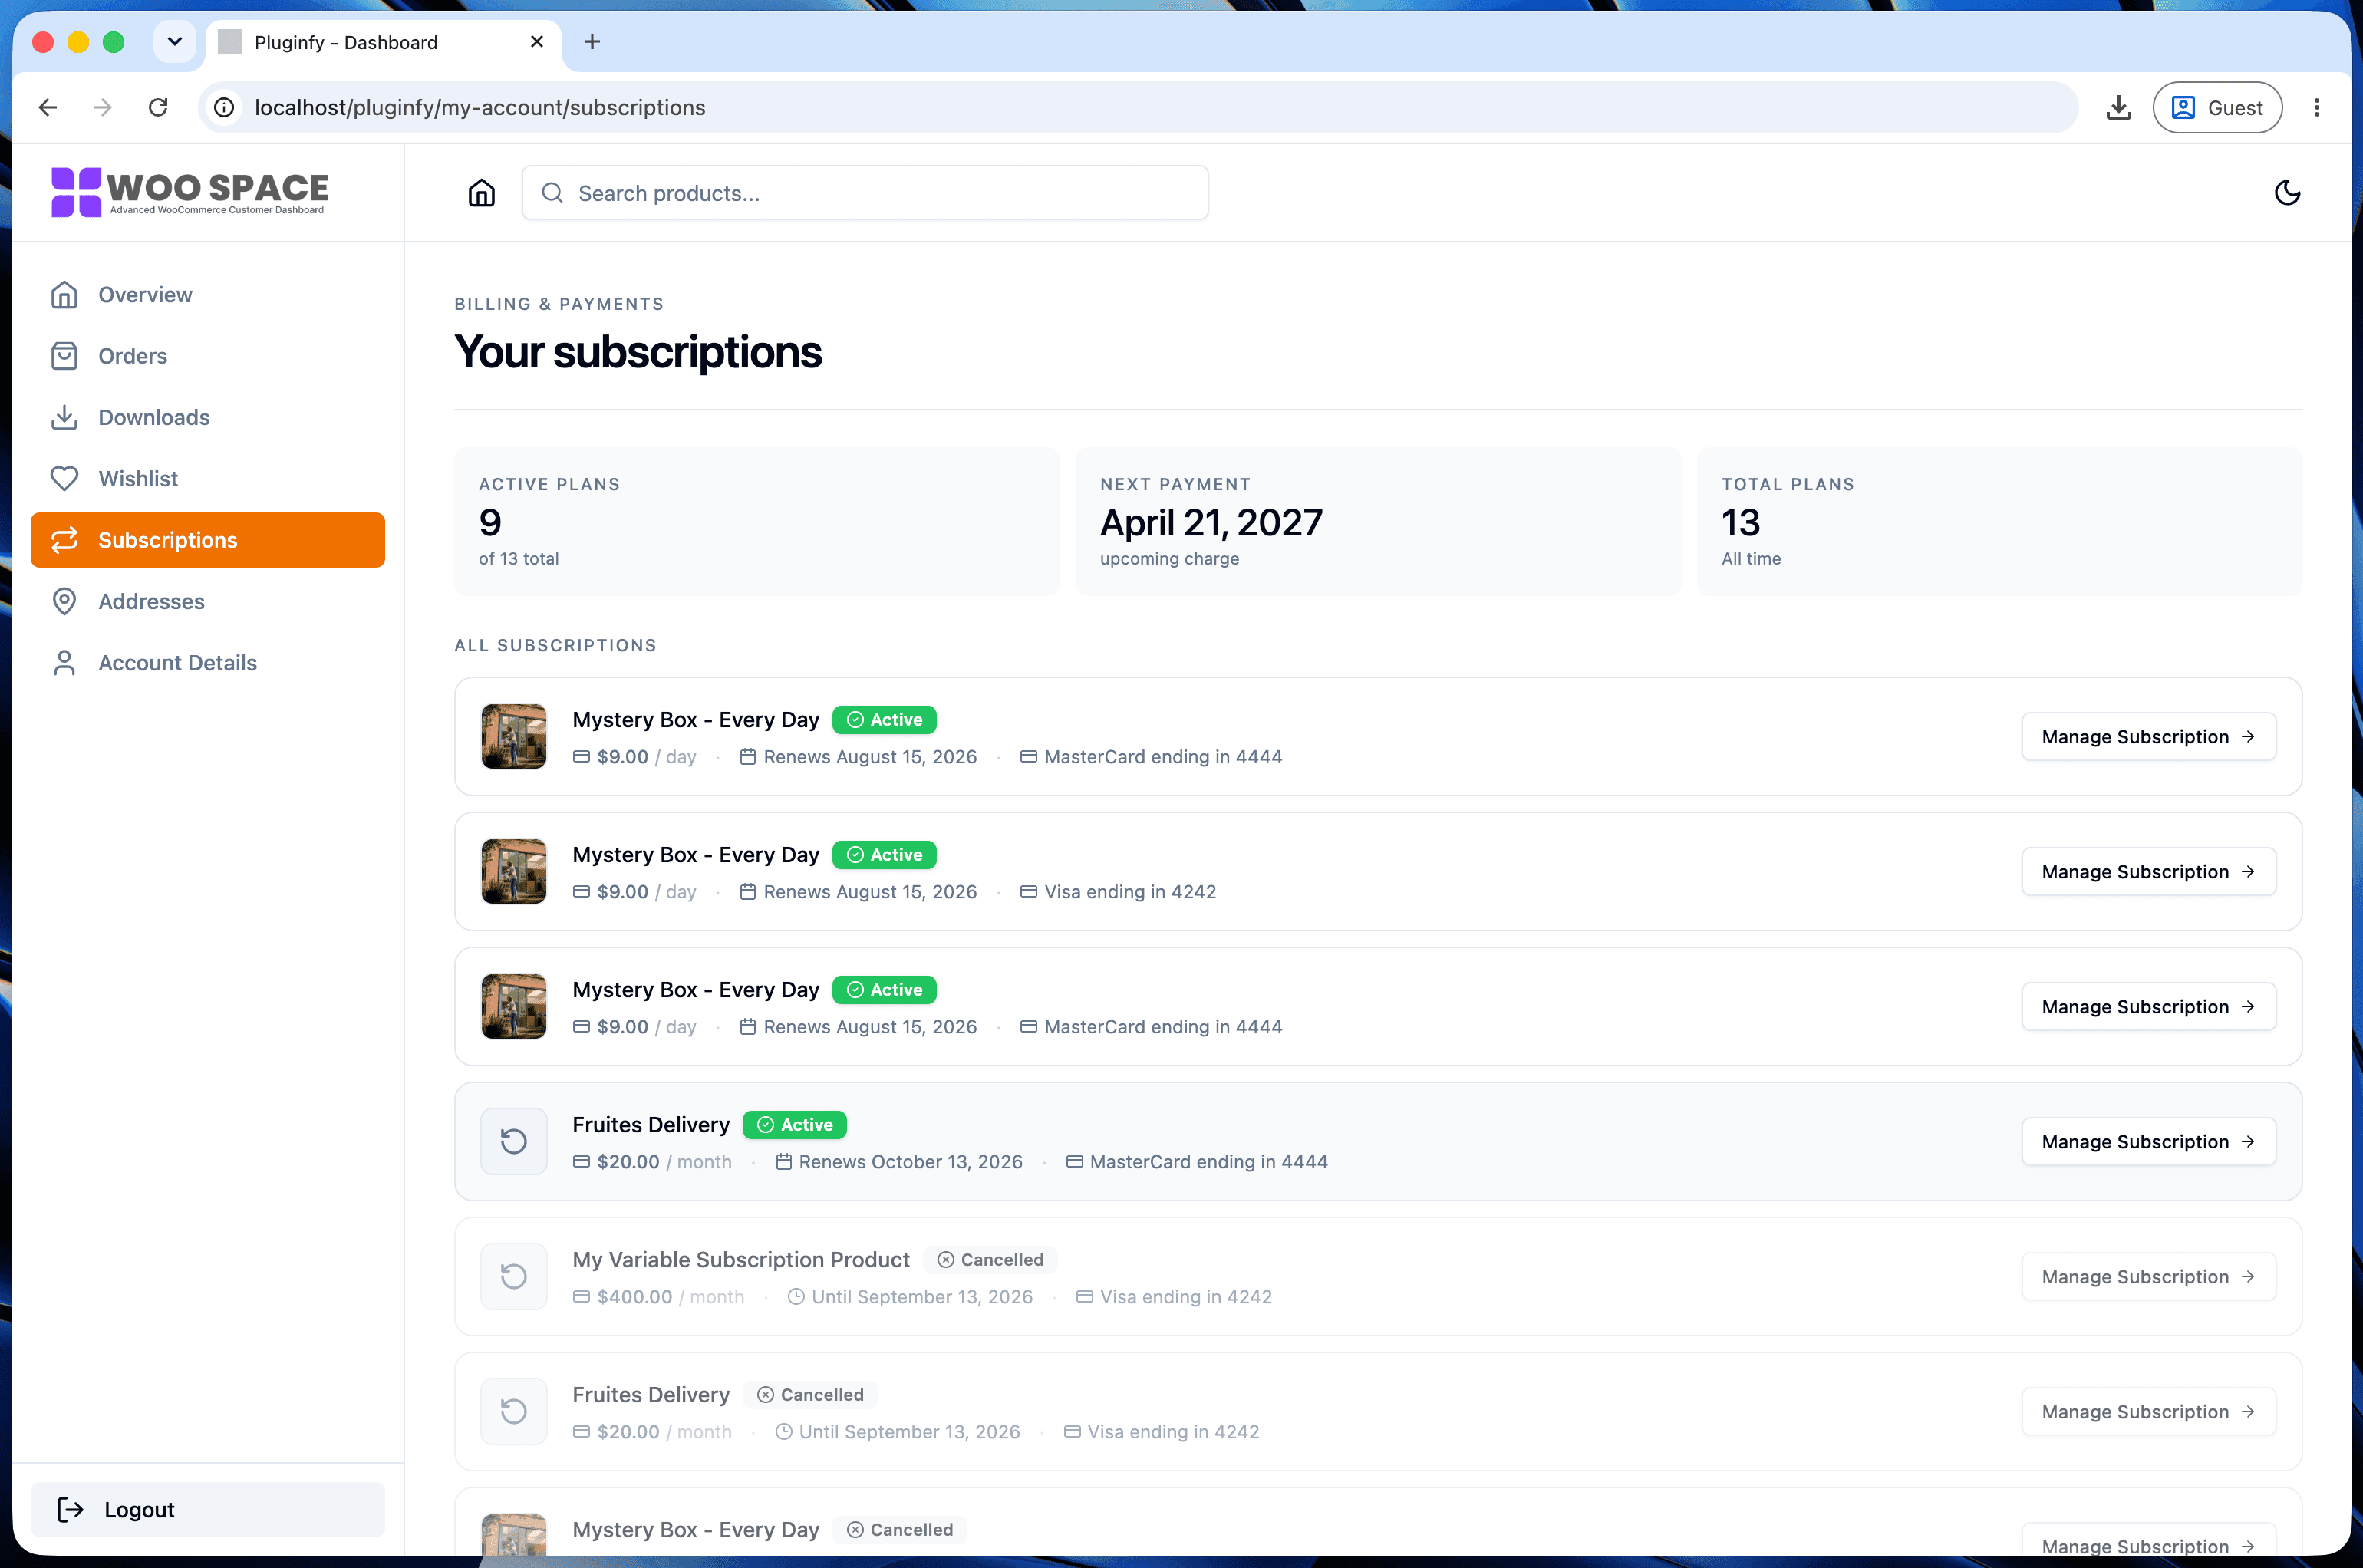
Yes, structurally - NextDash's dark mode (built on next-themes) follows
this same token + attribute + flash-prevention pattern, already wired up
as a light/dark/system toggle across every dashboard screen. Worth
knowing if you'd rather not build and maintain this yourself.
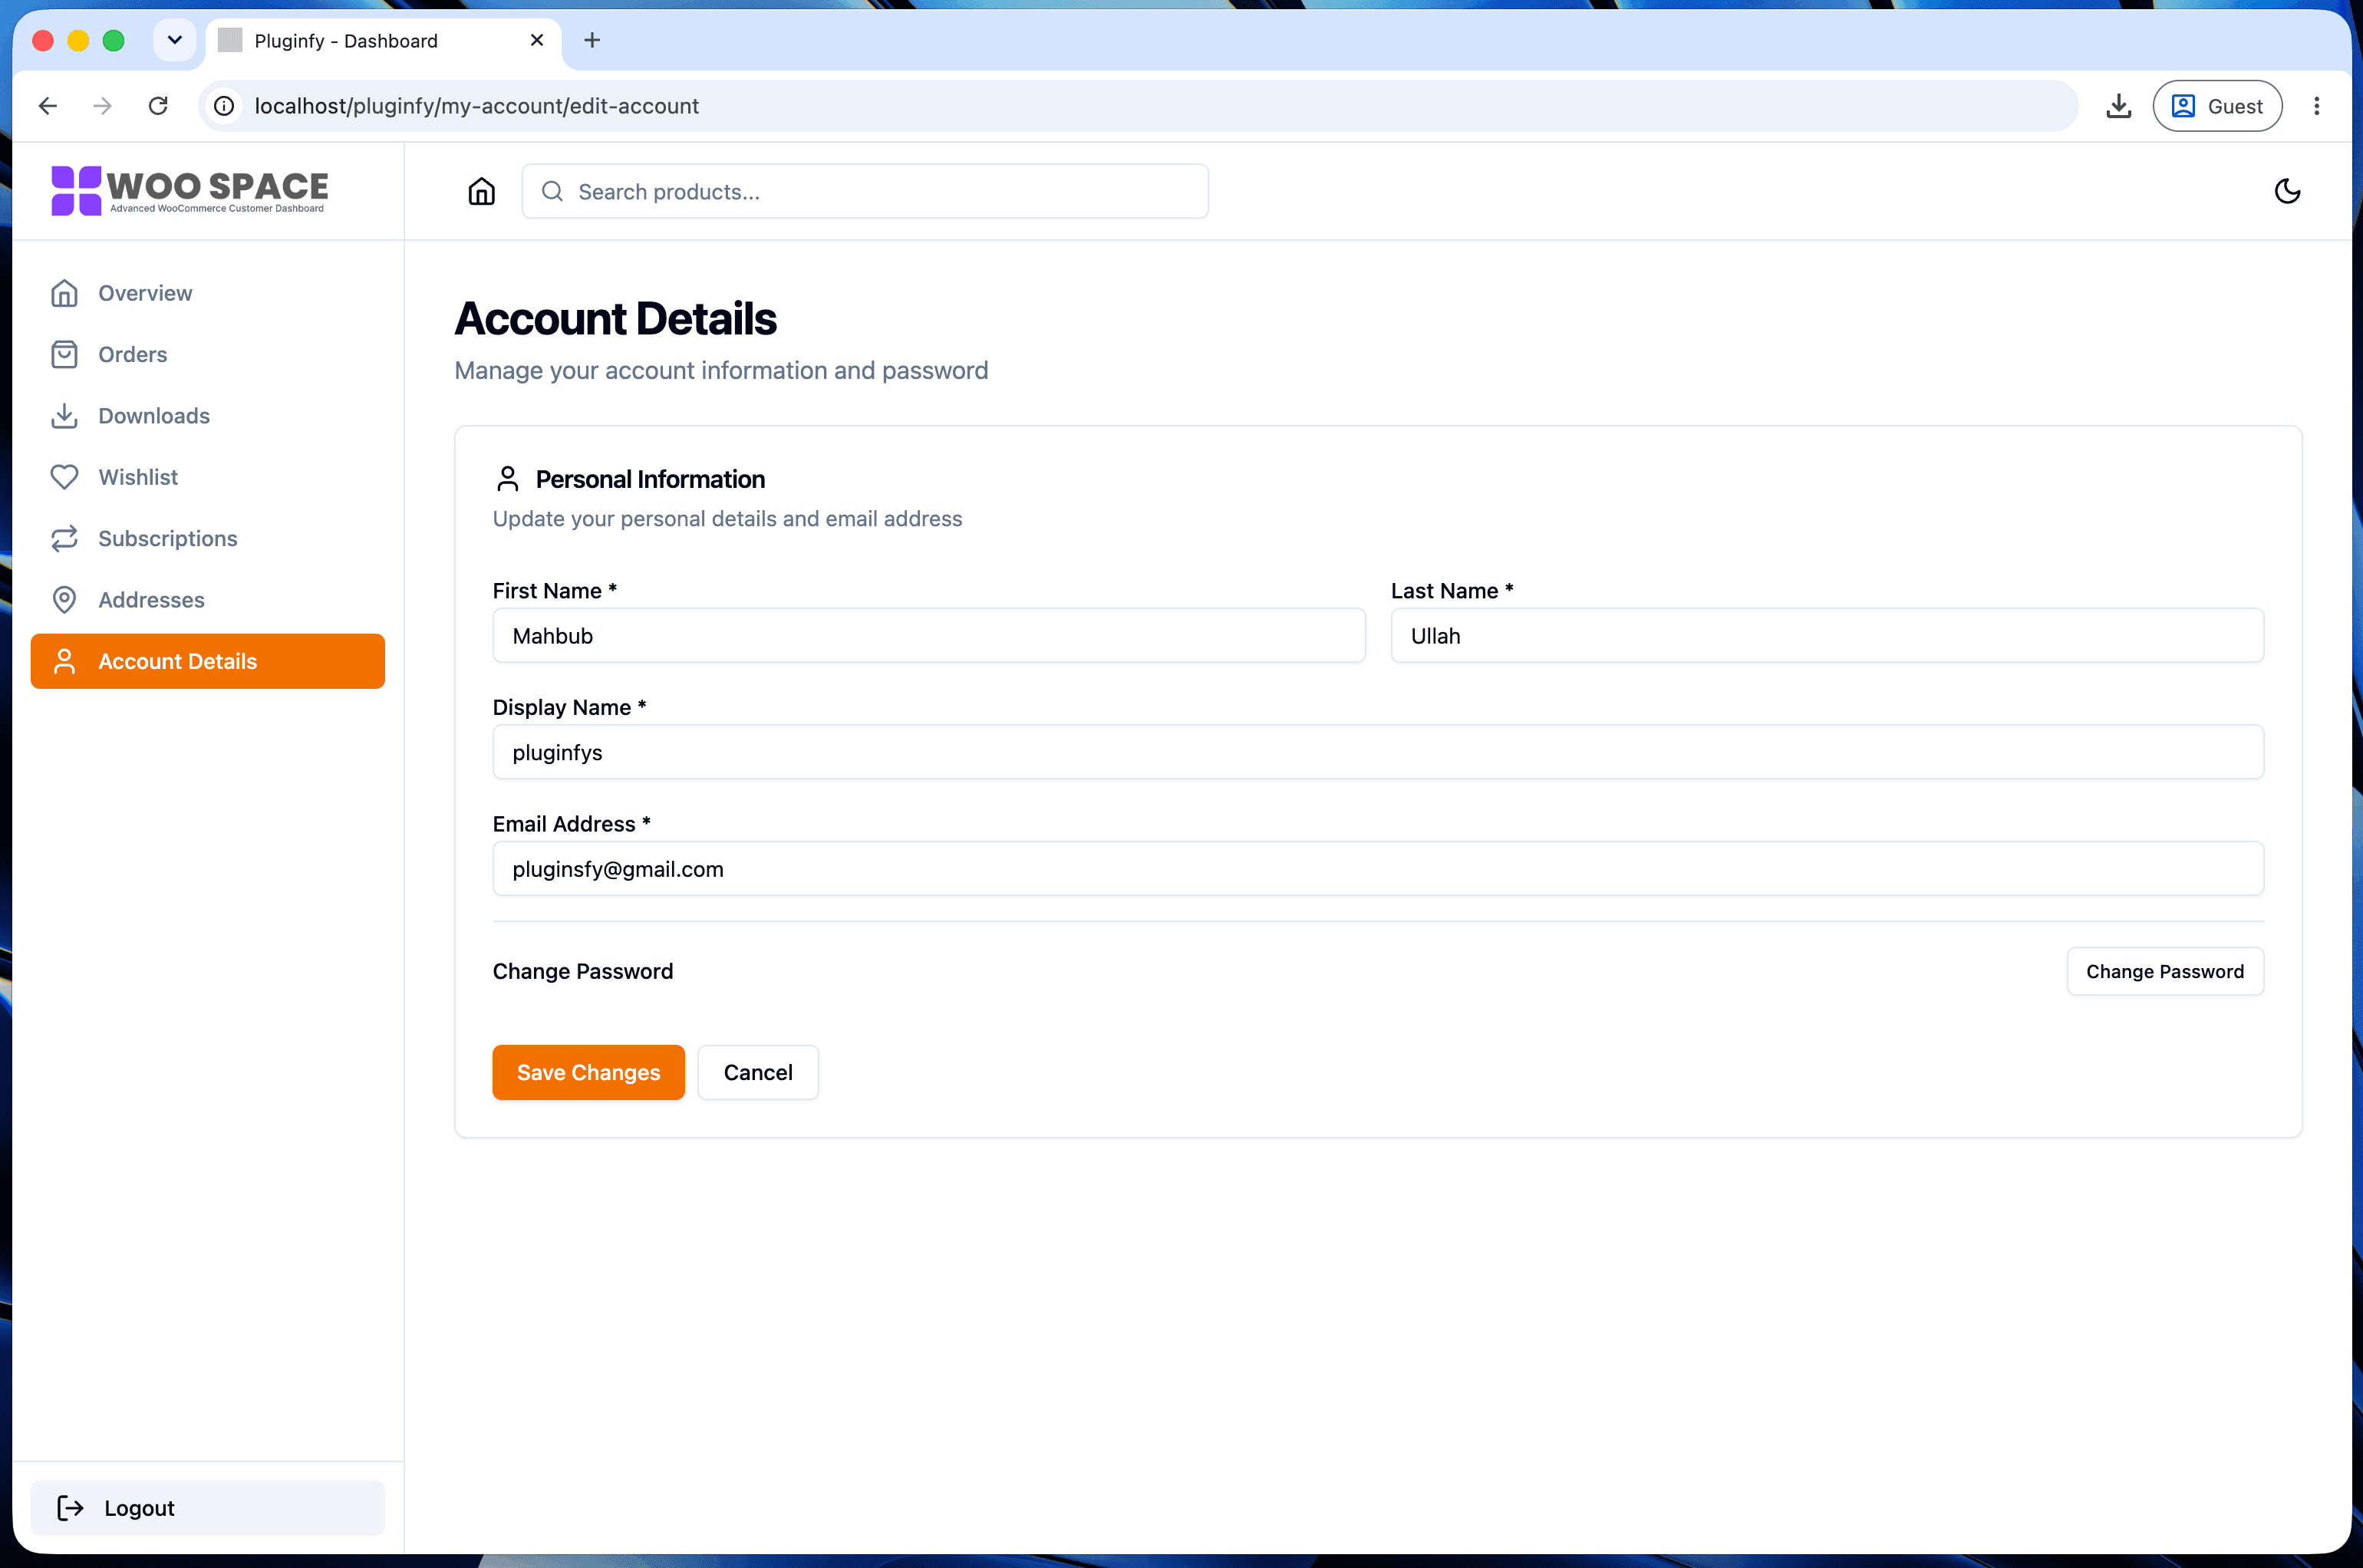
Skip the custom code — install NextDash
NextDash replaces the default WooCommerce My Account page with a modern React dashboard out of the box: order management, downloads, addresses, dark mode, and fast client-side navigation, no template overrides required.